Setting up your account
How an admin creates an invitation, how a new teammate accepts it, and how to sign in afterwards.
Futurity accounts are created by invitation. Nobody signs up off the street: somebody at your organization generates an invite, and the person who accepts it lands inside that organization as a member. This page shows both halves of that: first from the administrator's screen, then from the new teammate's.
The screenshots come from Meridian Distribution, a fictional goods distributor used throughout these docs. Sarah Chen administers it; Dewi Lestari is the new logistics coordinator joining today.
Create the invitation
Click Org in the left navigation, then My Organization. Below the employee list sits a card marked Create an Invite. Press Create Invite and the code appears immediately.

You get two forms of the same invitation, and both copy to your clipboard when clicked:
- The code: a short string the person pastes on the signup page.
- The link:
https://<your-futurity-host>/invite/<code>, which carries the code so they never have to type it.
Send whichever suits the person. Treat it like a key to your organization: it lets whoever holds it create an account inside your company, so send it directly rather than posting it somewhere public.
The full administrator's view of members, teams and roles is covered in Managing your organization.
Open the invitation
Everything from here happens on the new teammate's screen.
Opening the invite link goes straight to Create Your Account!, with the invitation already applied.
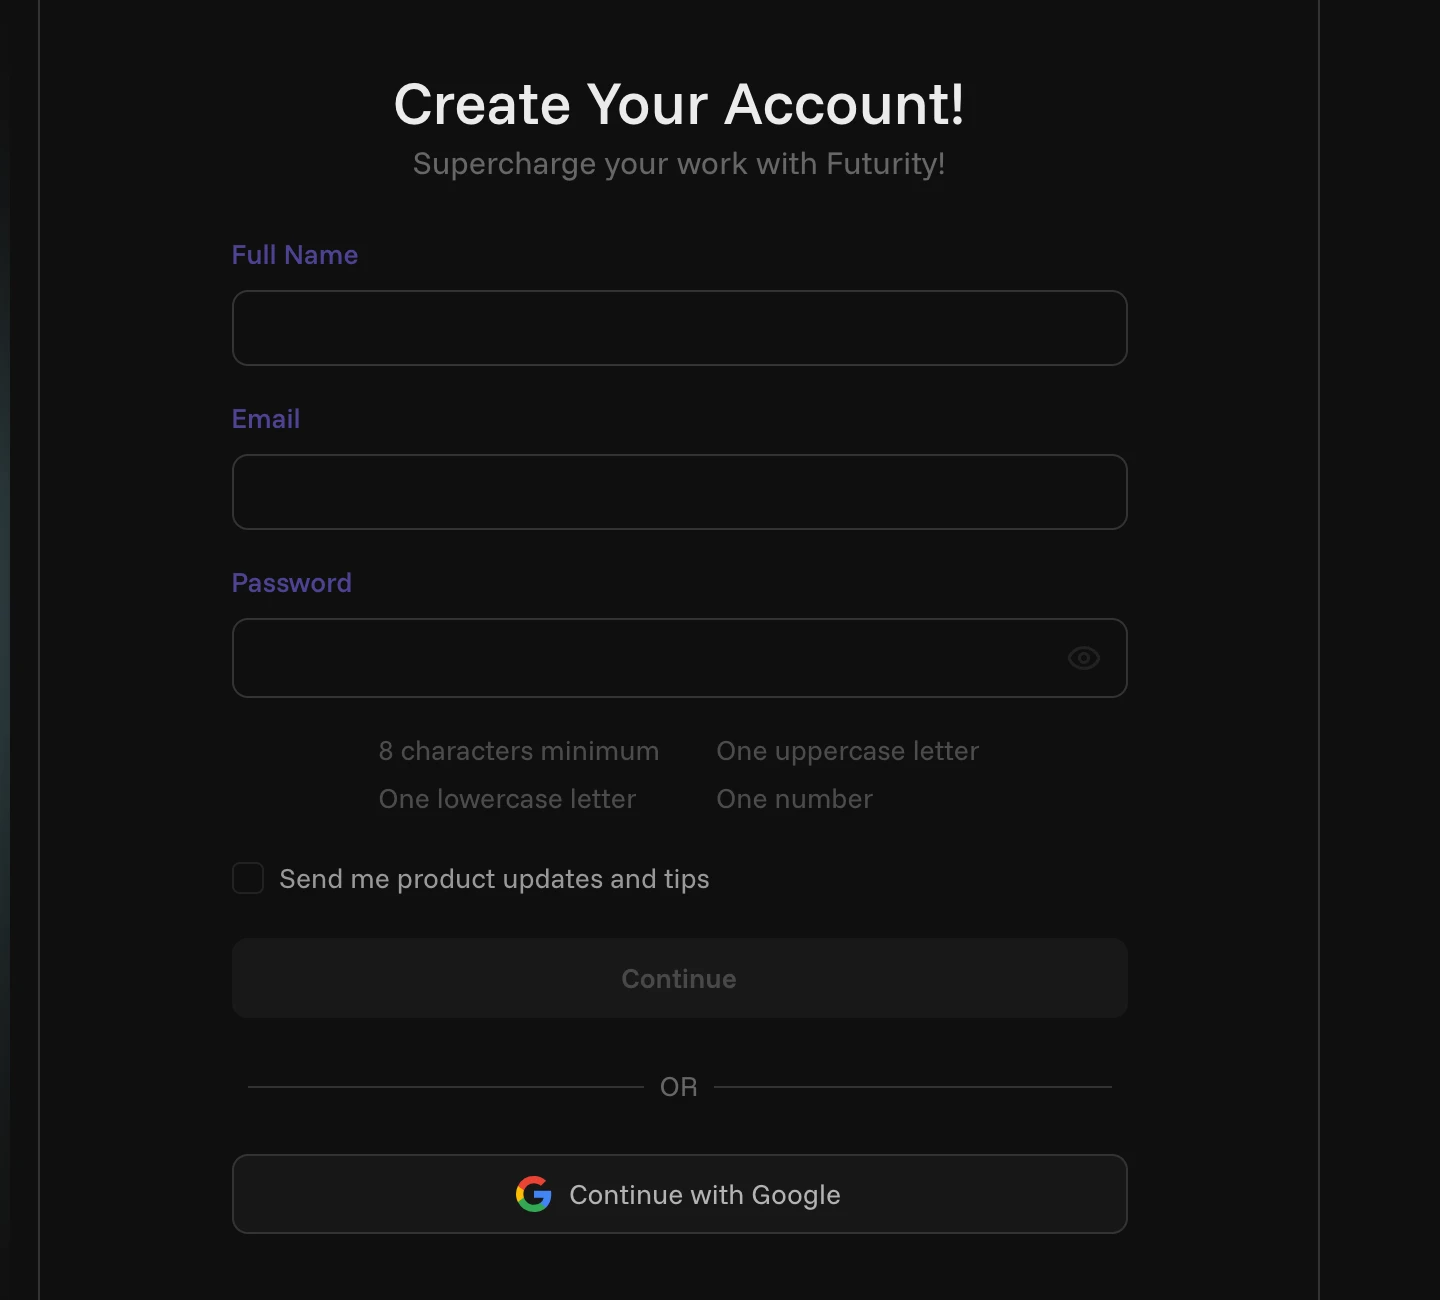
If they were sent the bare code instead, the signup page opens on Invite Only Access: "Futurity is currently available by invitation only. Enter your access code to continue." They paste the code, press Verify Code, and reach the same form.
Fill in the account details
Full name, work email, and a password. The four rules under the password field light up as they are met: eight characters minimum, one uppercase letter, one lowercase letter, one number. The checkbox for product updates is optional.
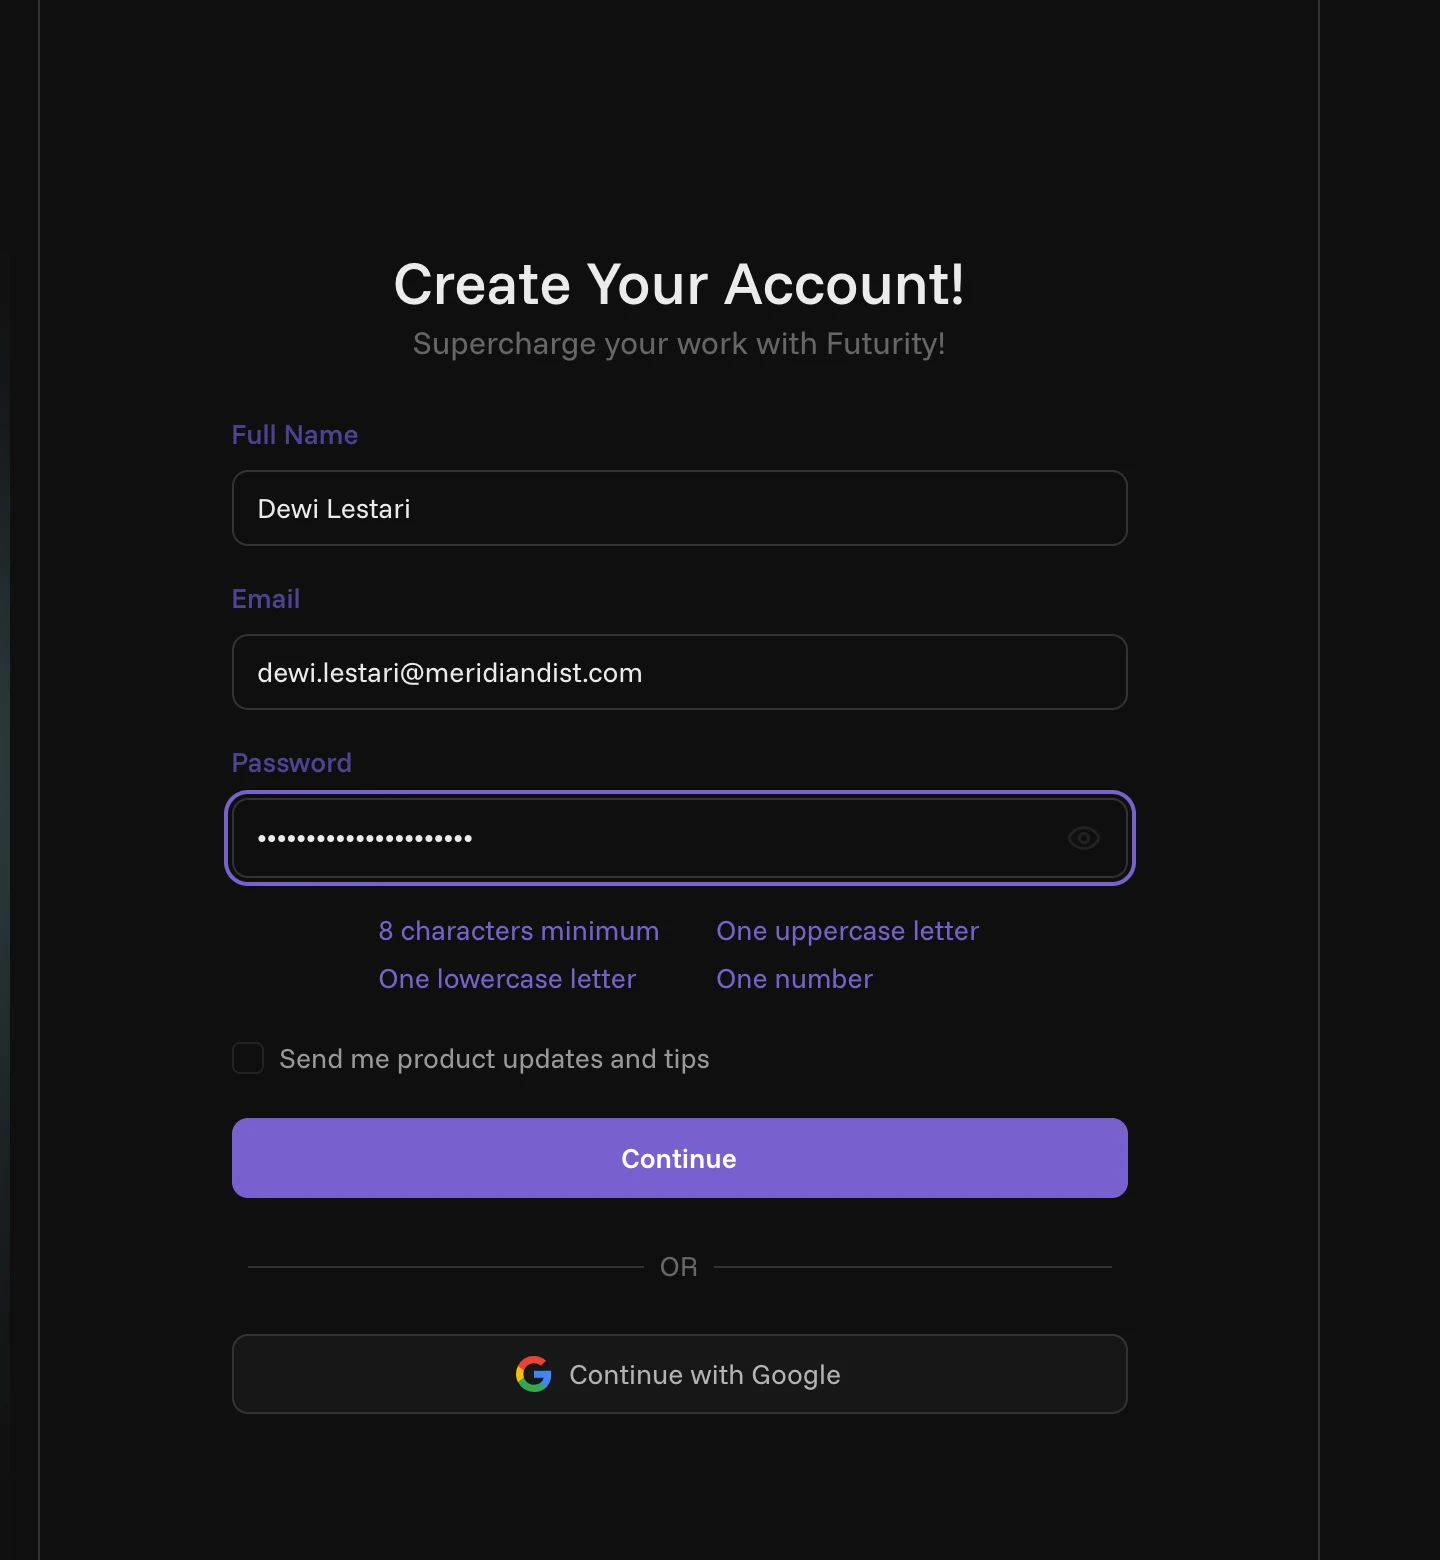
Continue with Google is on this page too, for people who would rather not keep another password. Either way the invitation is required — that is what attaches the new account to your organization.
Verify the email address
Futurity emails an eight-character verification code to the address just entered. Type it into the boxes and press Verify.
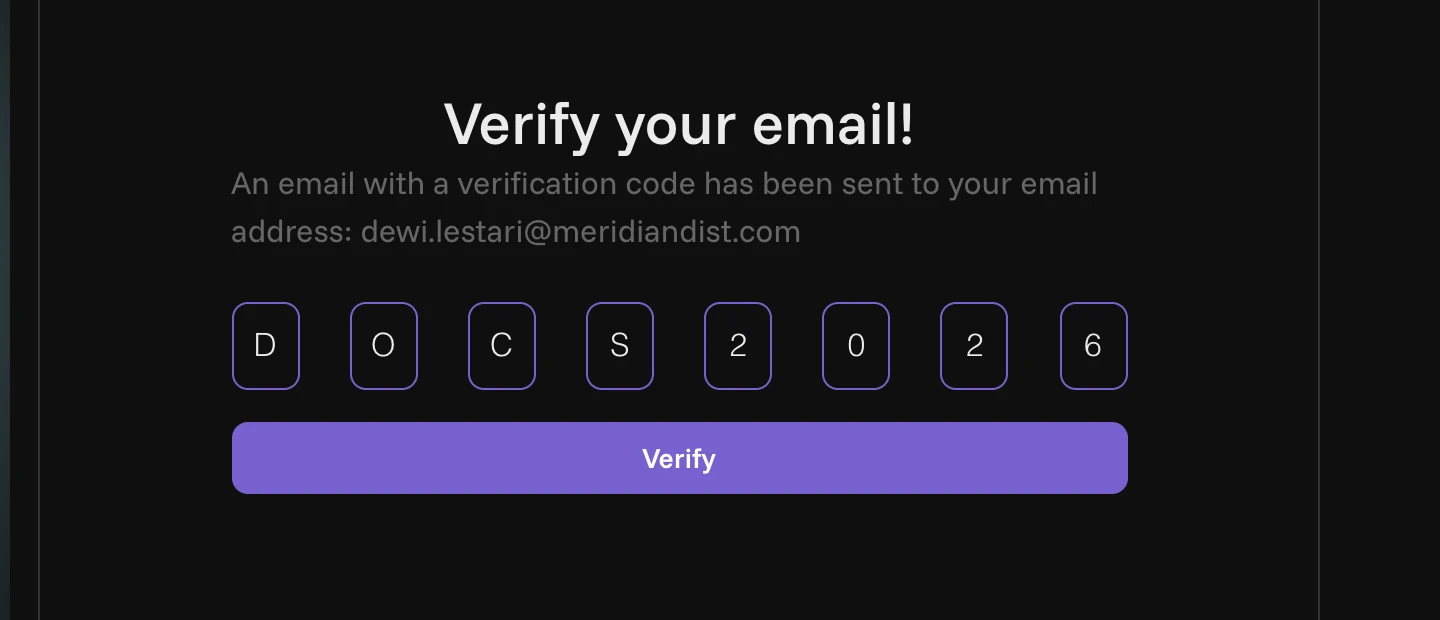
That is the last step. Verifying the code creates the account, signs the person in, and drops them on the home page of the organization that issued the invitation, where a short welcome tour opens on its own. Quickstart picks up from exactly there.
New members arrive with your organization's default role, which decides what they can see and do on day one. See Roles and permissions for what those defaults control.
Confirm on the administrator's side
Back in Org → My Organization, the new person is now a row in Employees, marked Active.
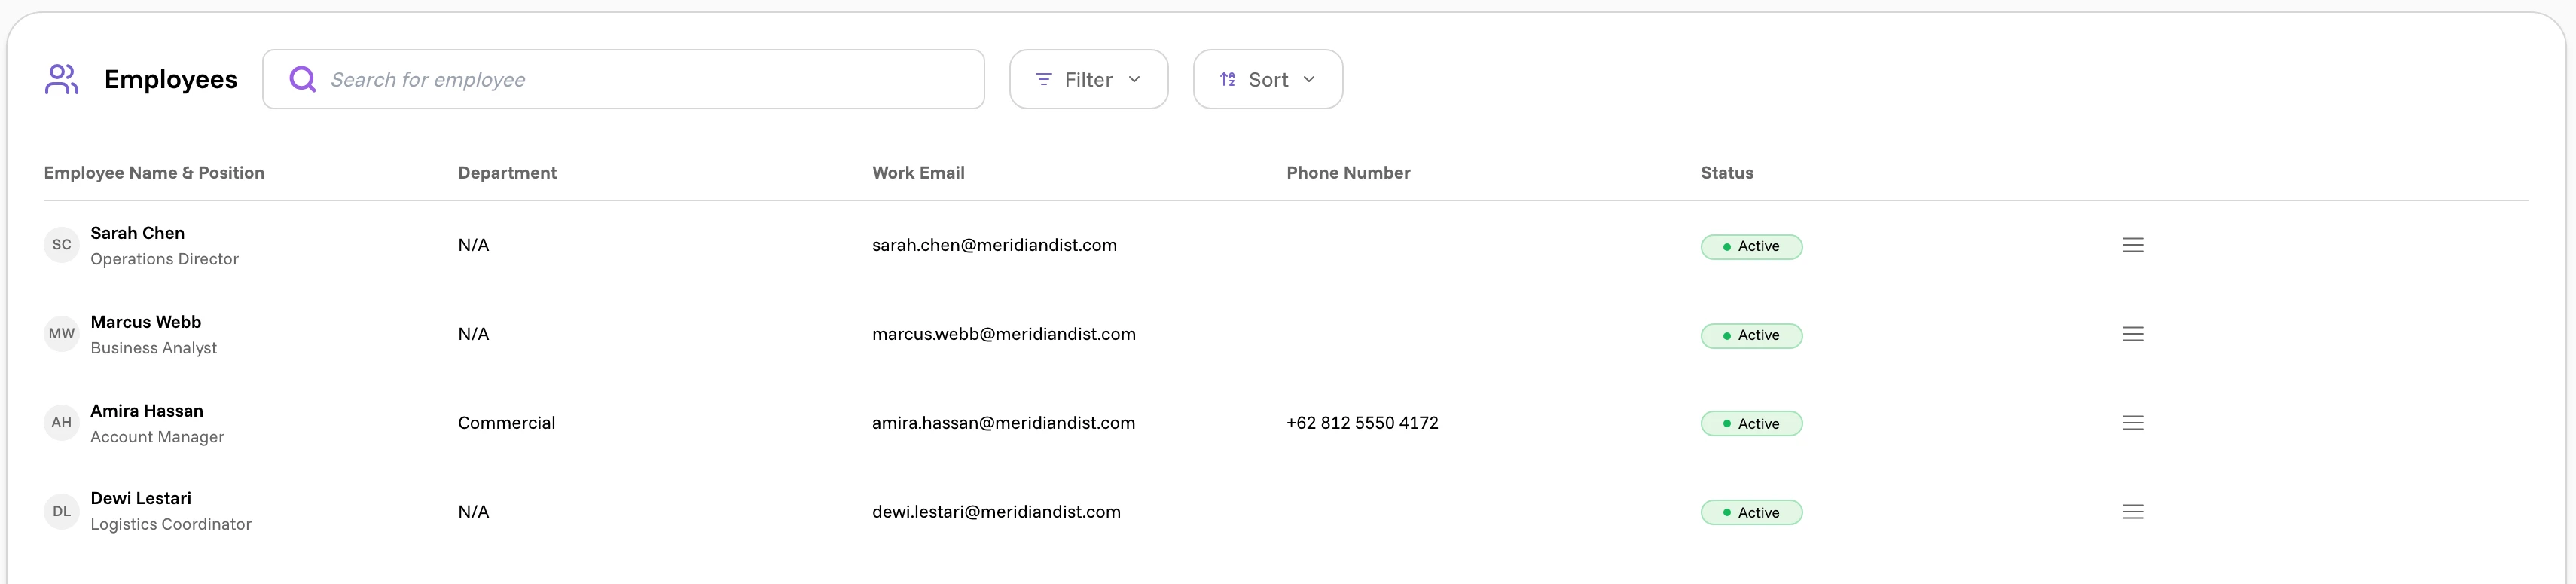
Signing up captures a name and an email, nothing else. Job title, department and phone are filled in afterwards by an administrator: open the person's Employee information panel, choose Edit User Details, then Save Changes. Dewi already shows a position here because that has been done for her; her department has not.
Signing in afterwards
Once the account exists, everyday access is the ordinary login page: work email and password, or Continue with Google if that is how the account was created.
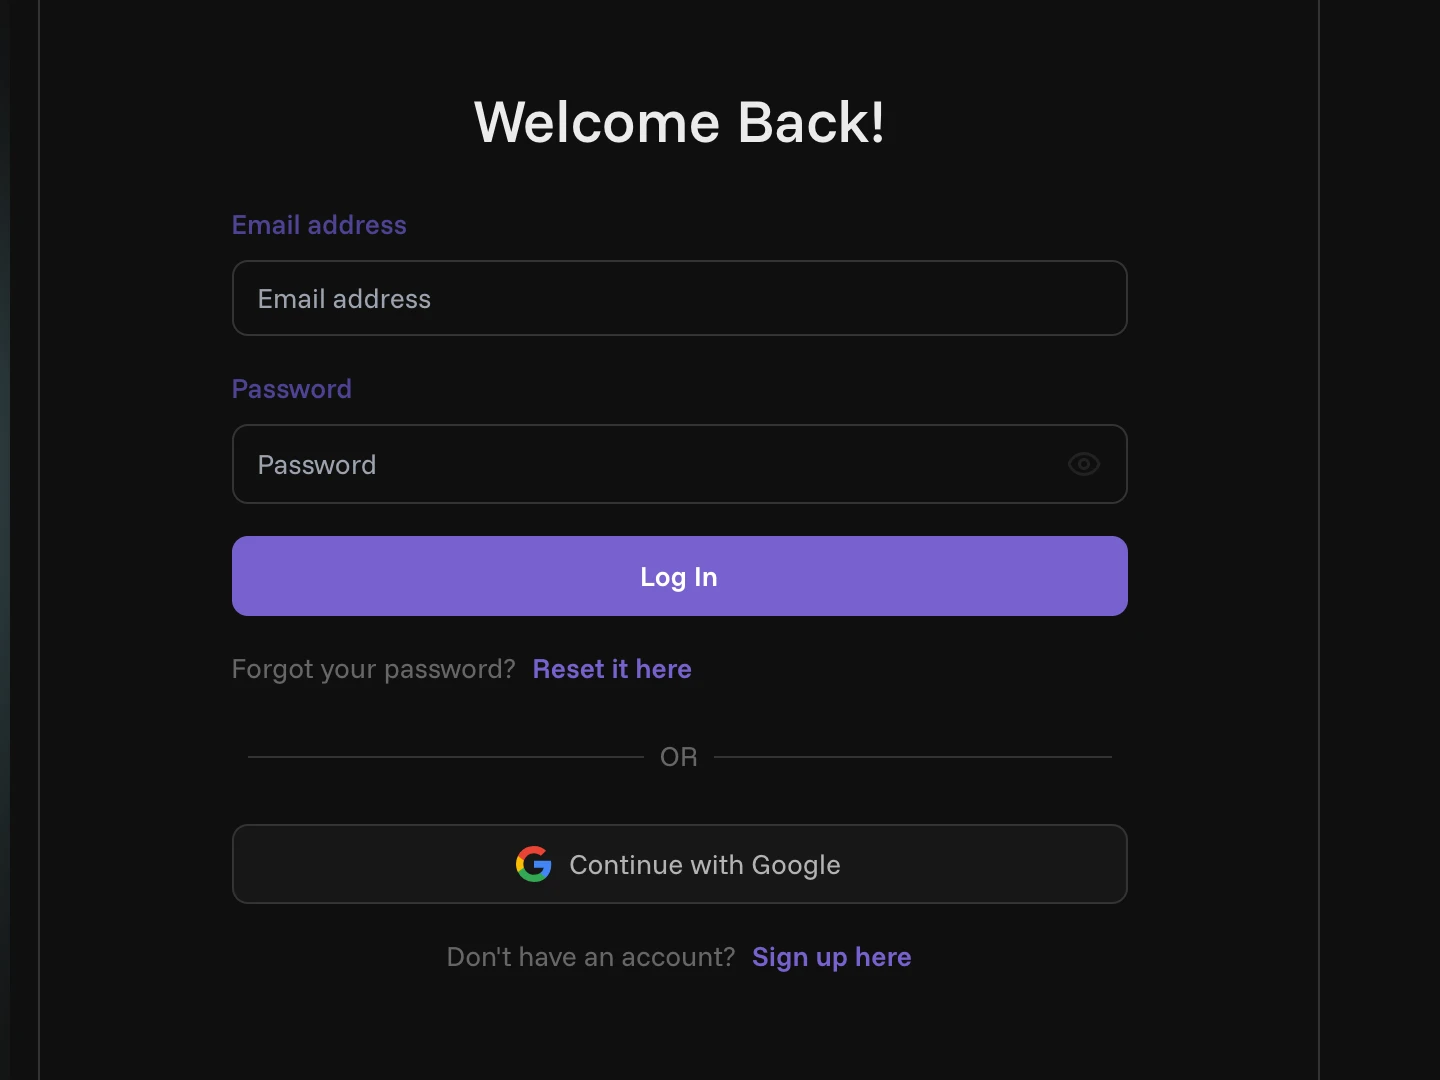
Forgotten passwords are self-service. Reset it here opens Forgot Password: enter your email, request a verification code, then set the new password with the code you were sent.
Your profile and your security
Everything about the account itself lives under Profile in the user menu at the bottom of the left rail:
- Profile and security: your name, photo, birthday and phone; the list of devices currently signed in, each of which you can revoke; and two-factor authentication, which is worth switching on before you do anything else.
- Preferences: theme, language, and the default permission mode that governs what the assistant may do without asking.
- Notifications: which events reach you by email and which stay in the app.