Profile and Security
Your personal details, active sessions, password, and two-factor authentication.
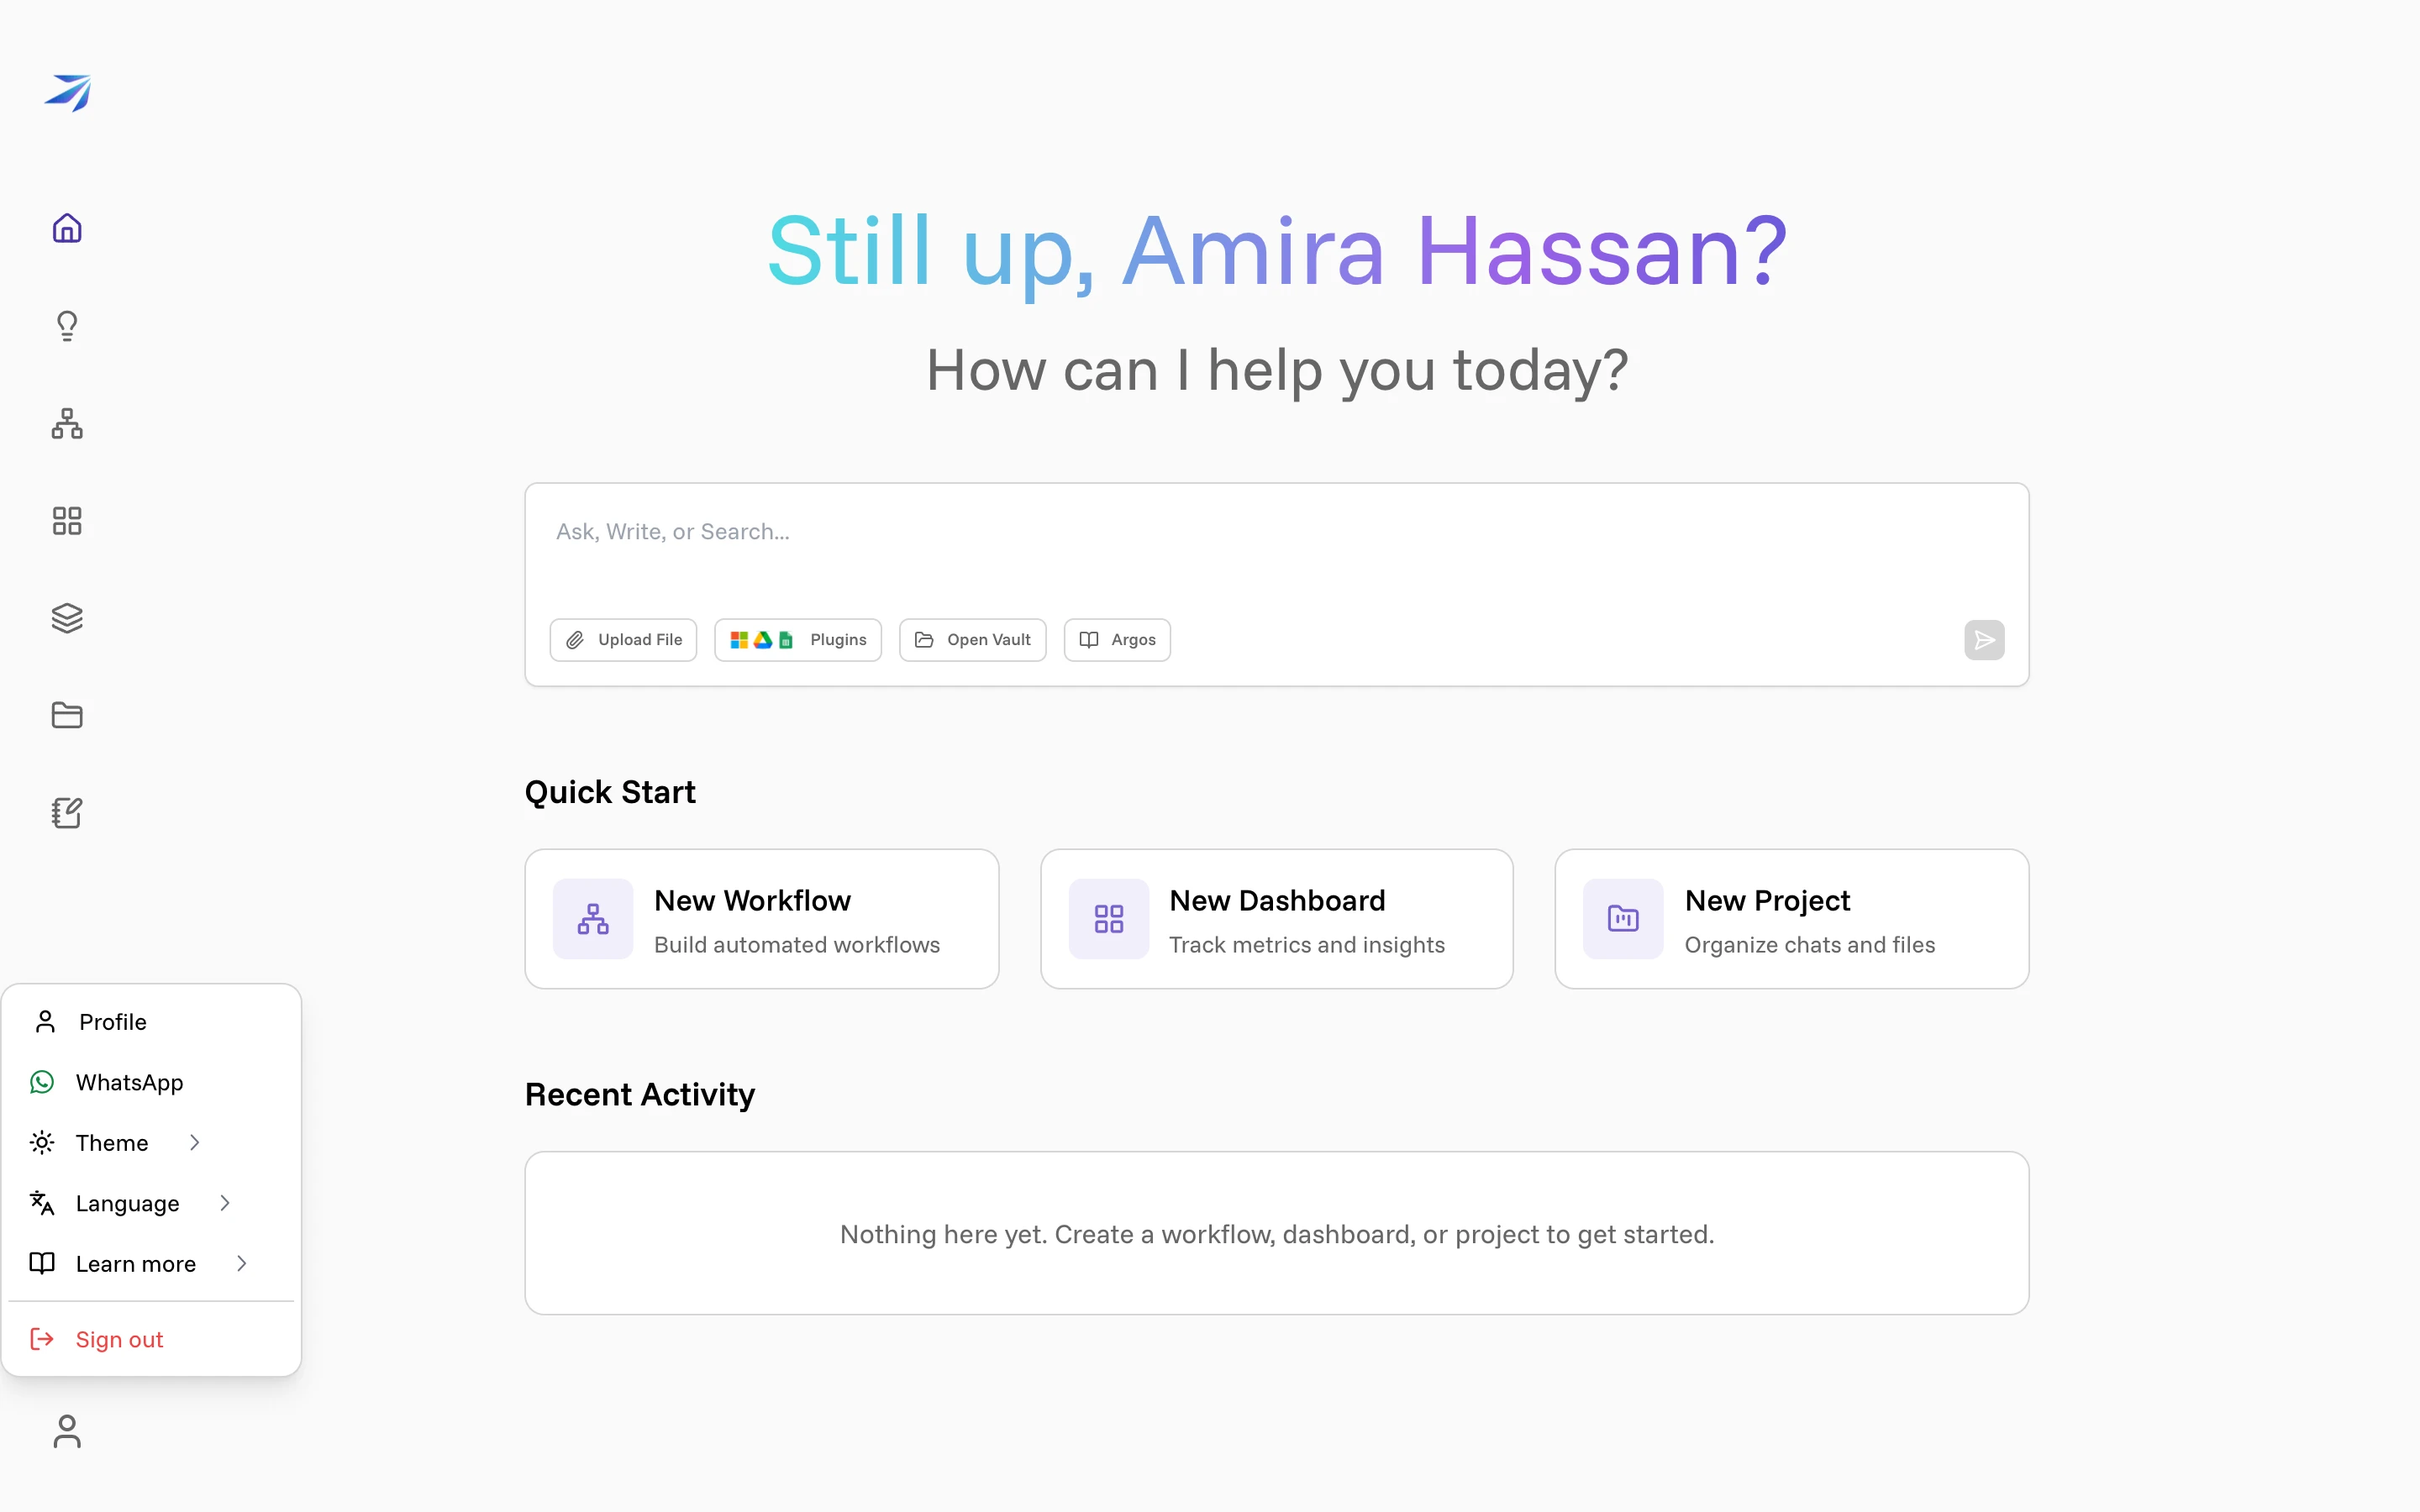
Everything about your own account lives in one place: click your avatar in the bottom-left corner and choose Profile. The settings described here belong to you alone — changing them affects nobody else in your organization.
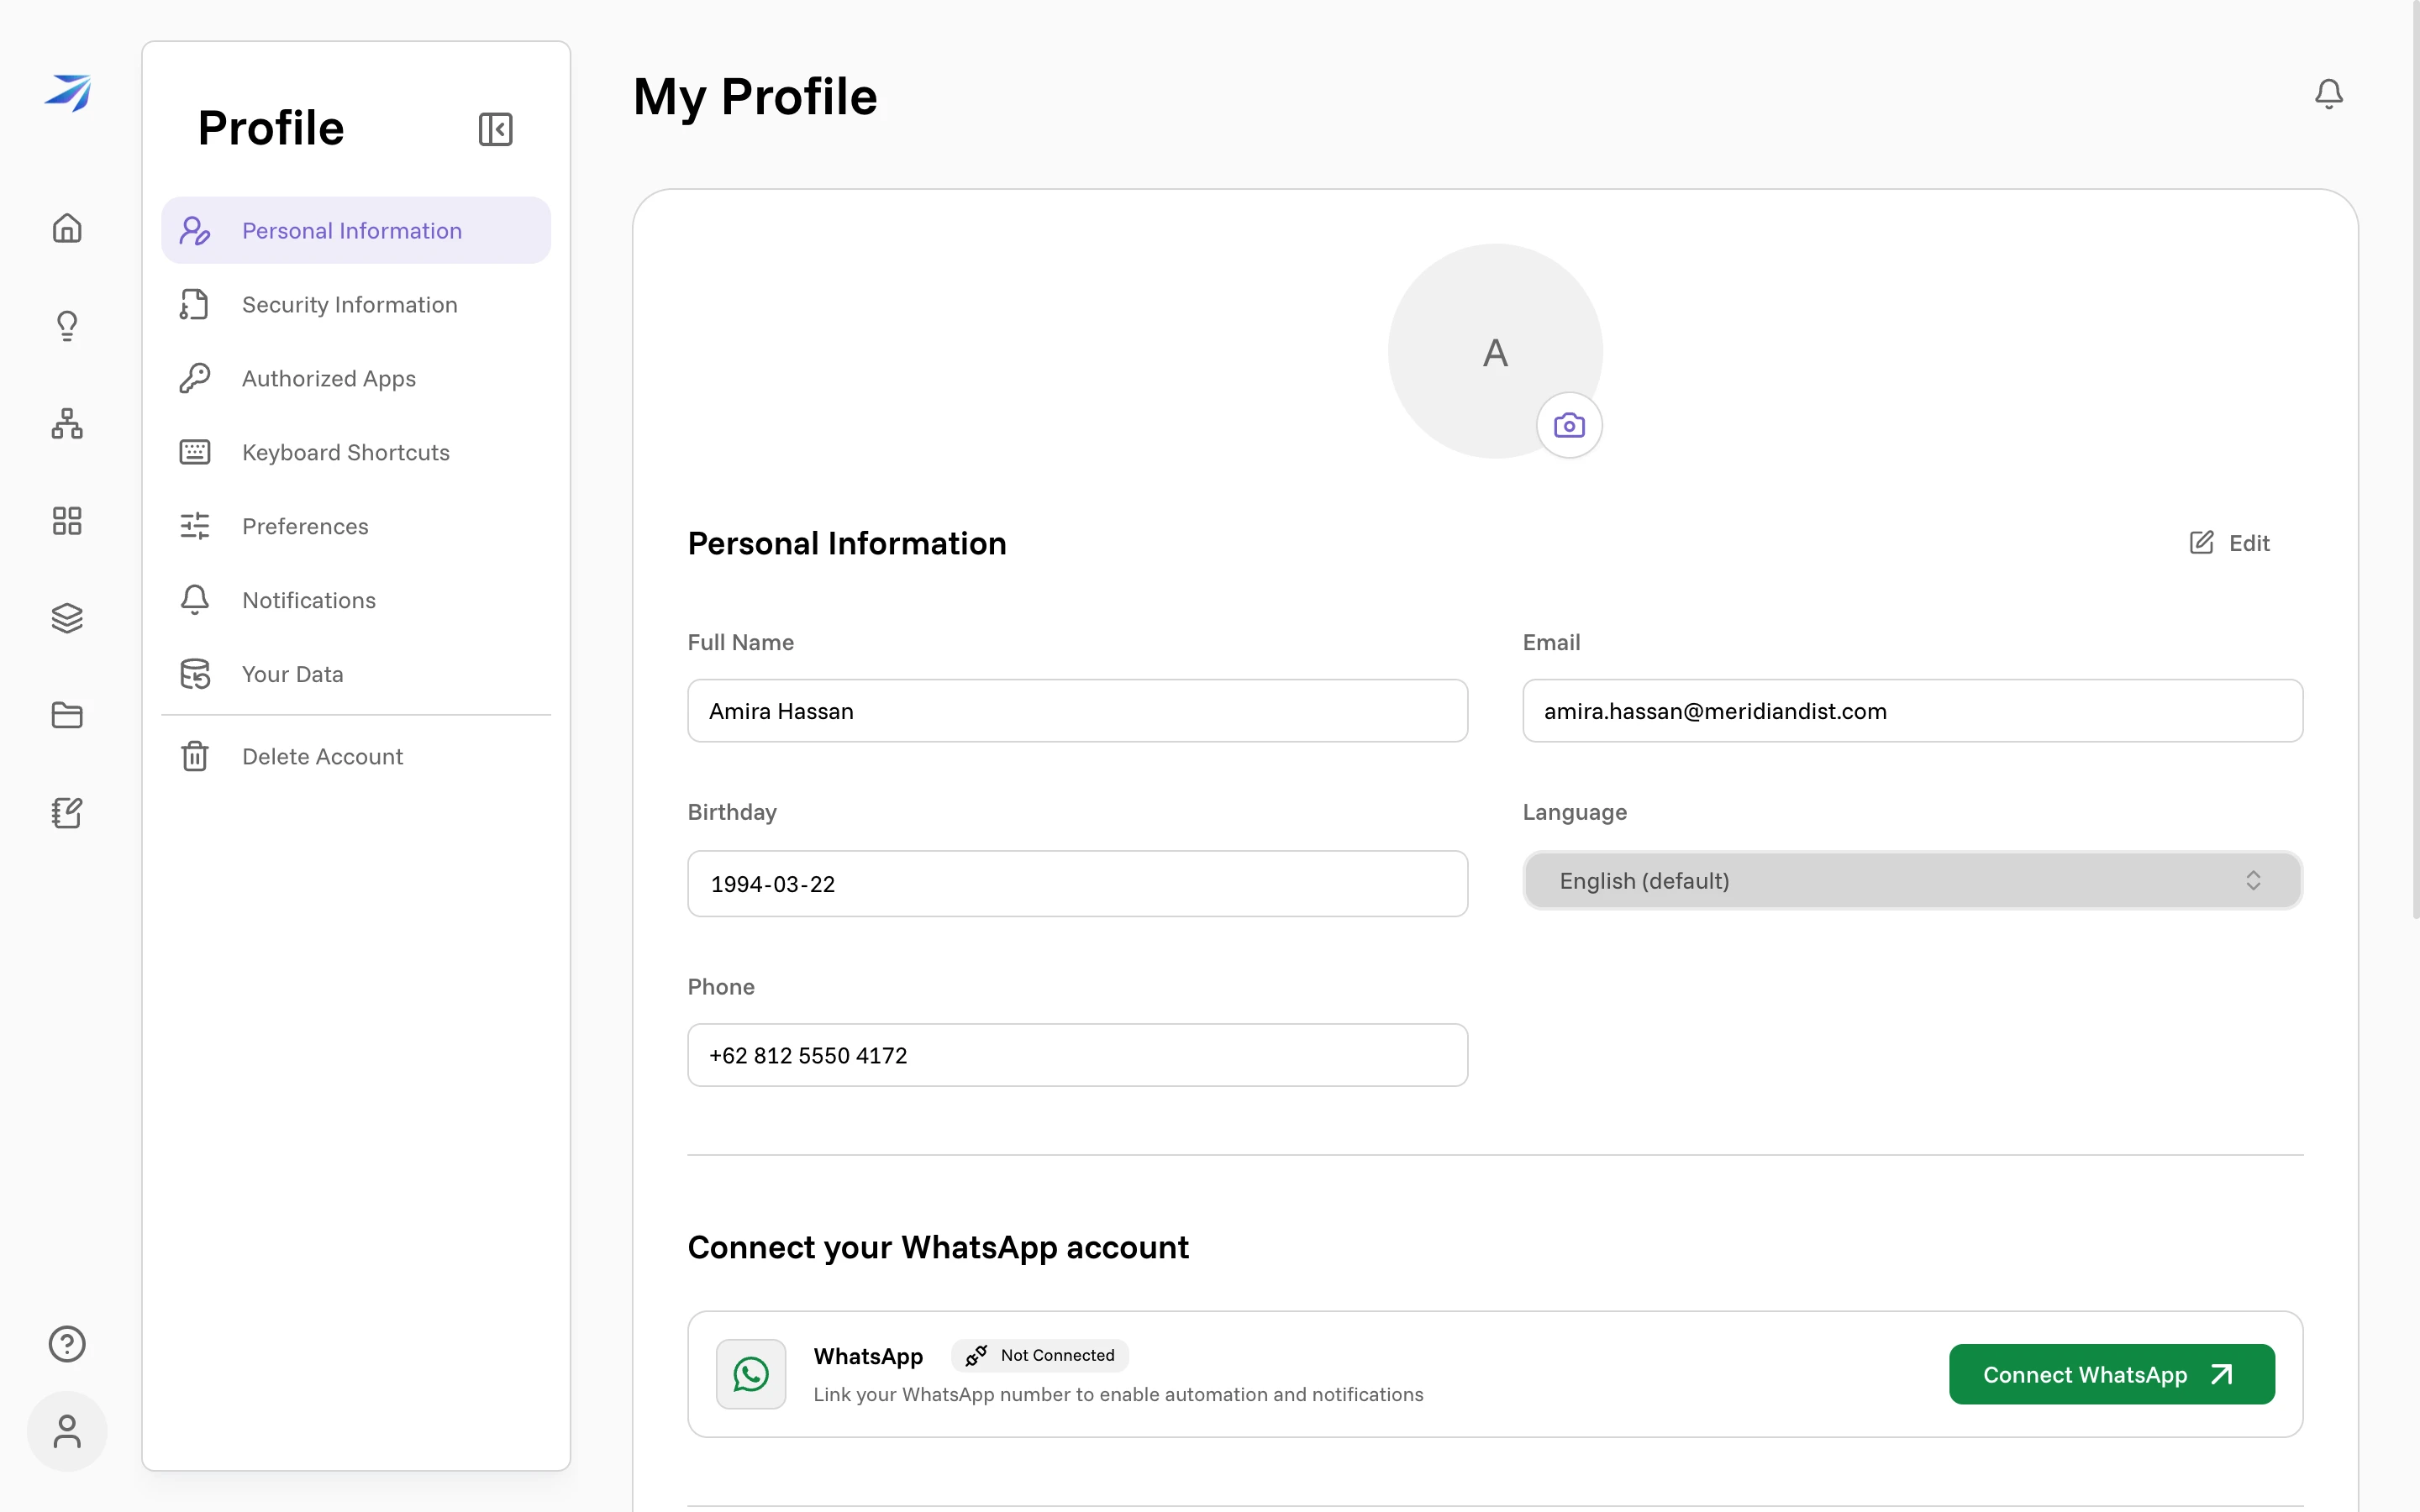
Personal Information
The first page shows who Futurity thinks you are: your full name, email, birthday, language, and phone number, plus your avatar. Click Edit to unlock the fields, make your changes, then Save Changes (or Discard Changes if you change your mind). The camera button on your avatar uploads a new picture.
This page is also where you link your WhatsApp number, so you can chat with Corint from your phone. The WhatsApp guide walks through that.
Active Sessions
Below your personal details sits a list of every device currently signed in to your account — browser, IP address, when it was last used, and when the session expires. Your current device is marked Current session.
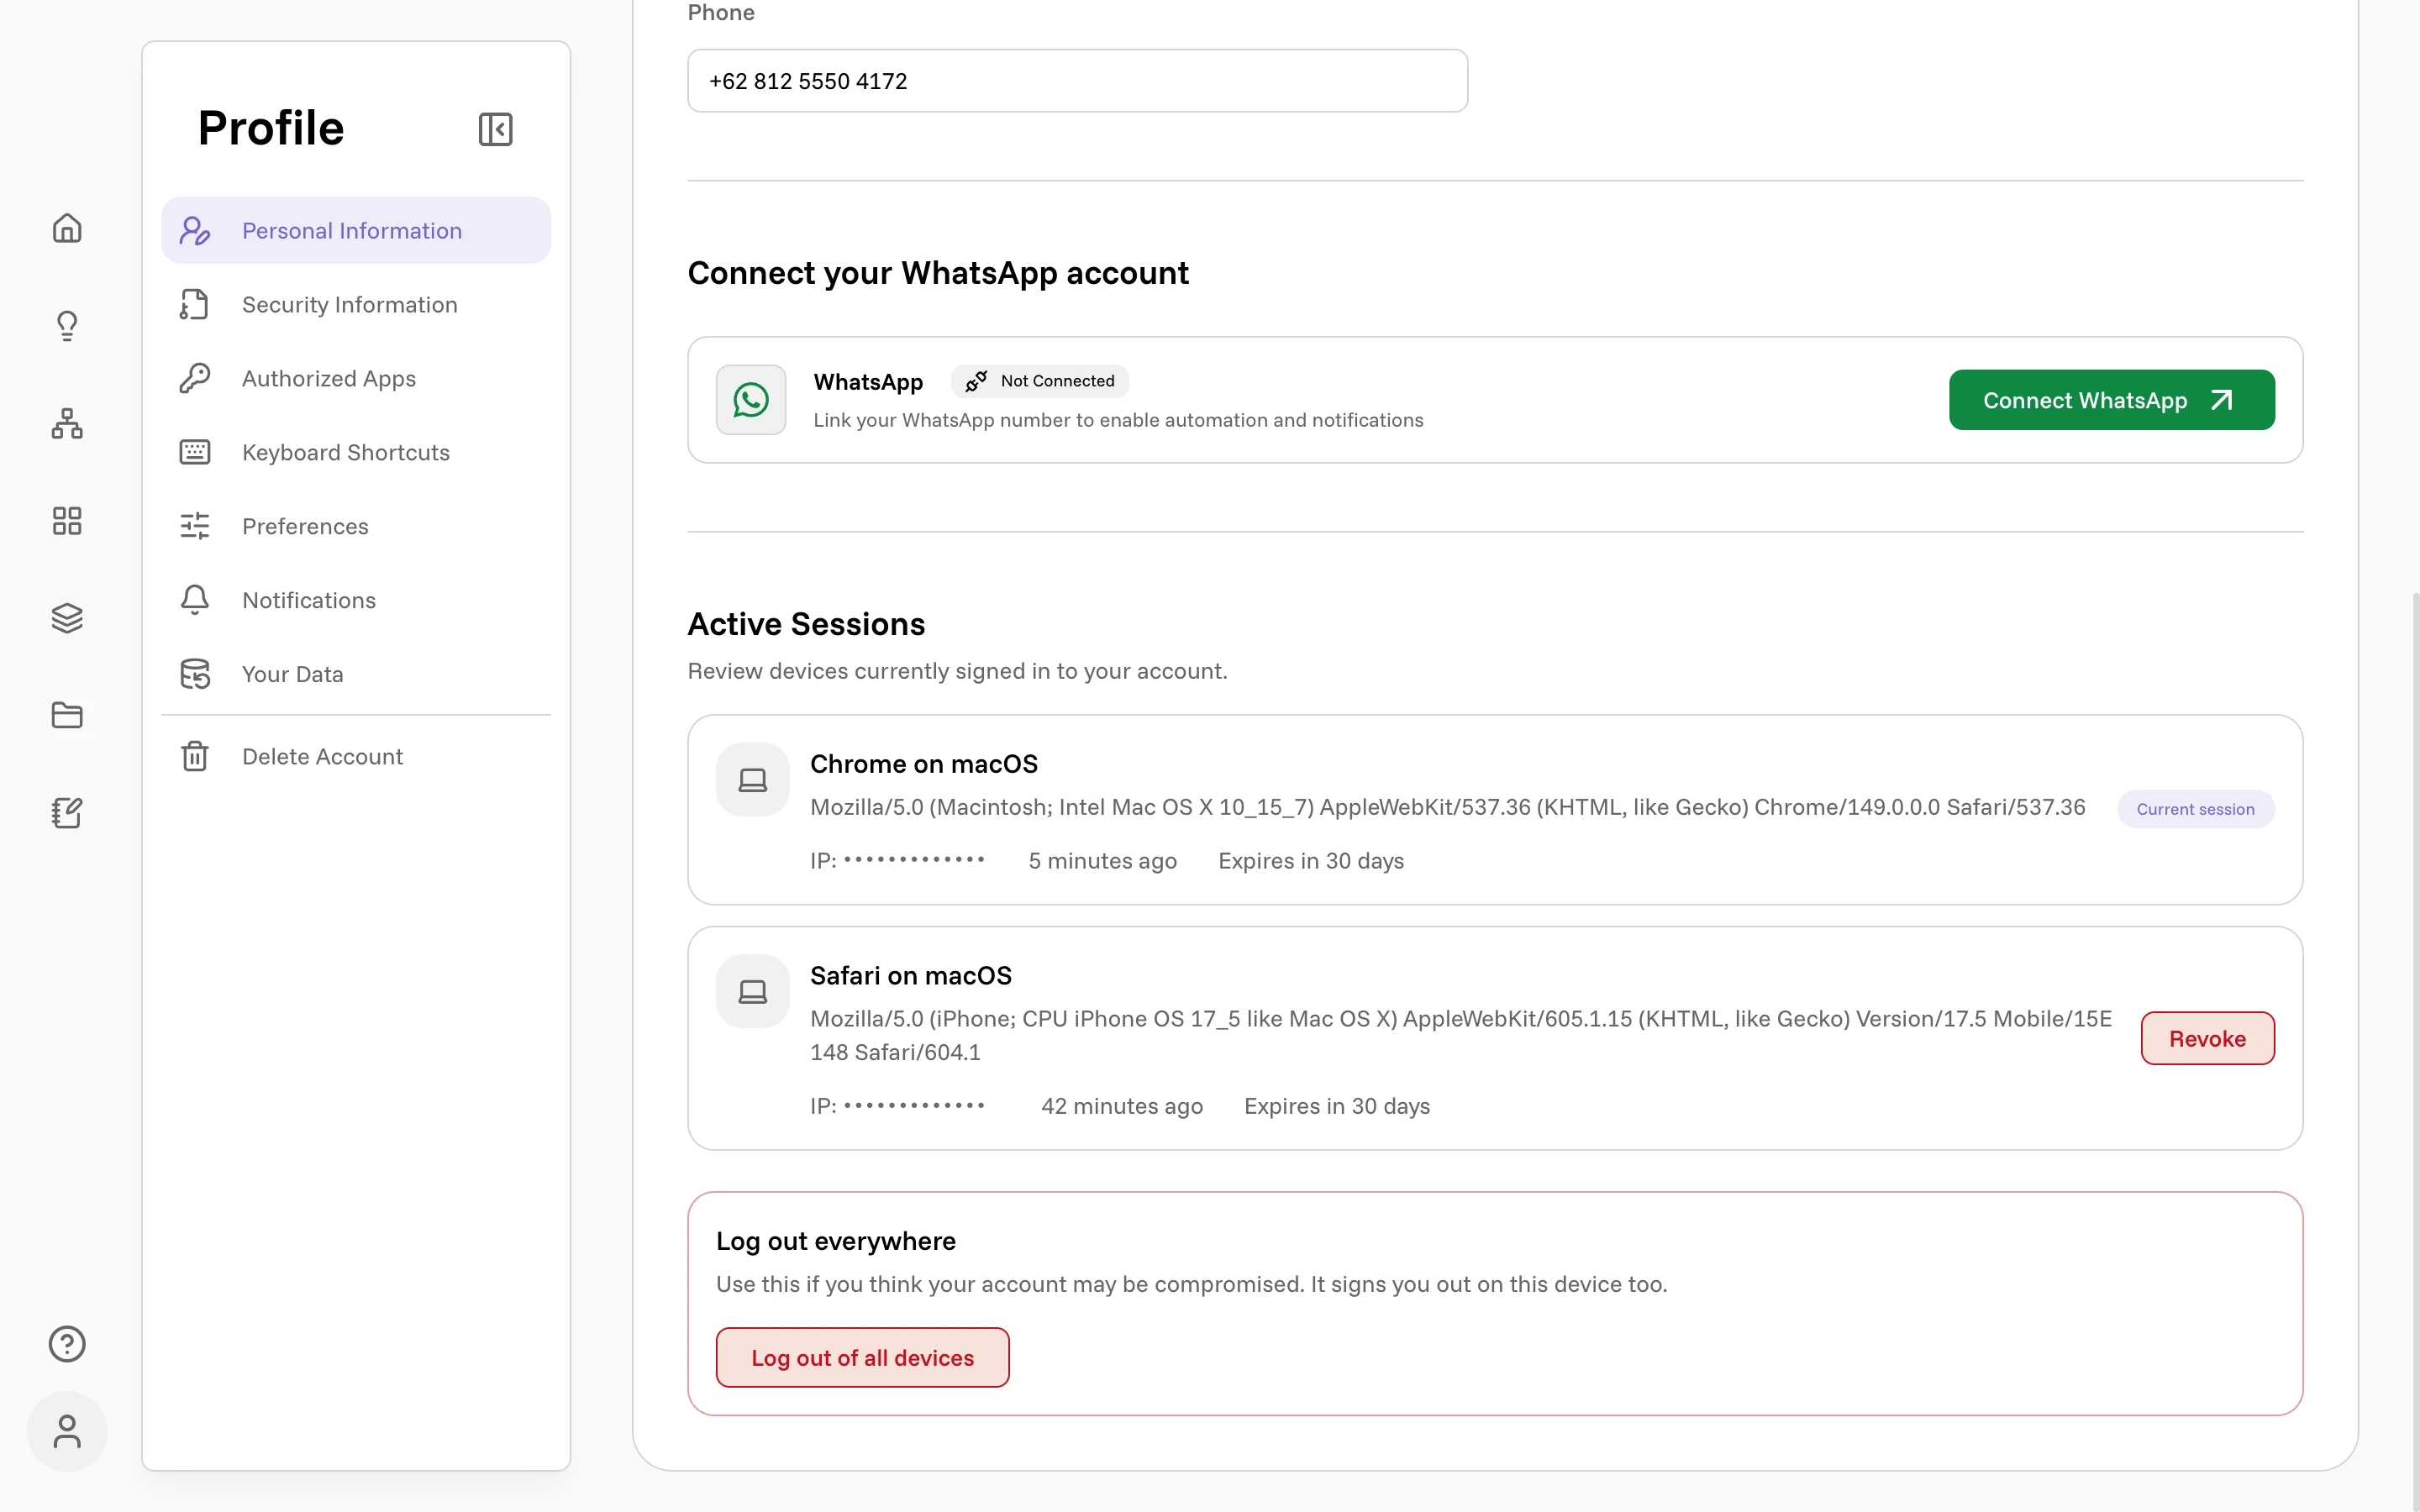
Two controls matter here:
- Revoke signs out one device. Use it when you left yourself logged in on a computer you no longer sit at.
- Log out of all devices ends every session at once, including the one you're using. The page says it plainly: use this if you think your account may be compromised.
Recovery email and password
The Security Information page holds your recovery email and your password. Click Edit to open the form: set a recovery email, or change your password by entering your current one and the new one twice.
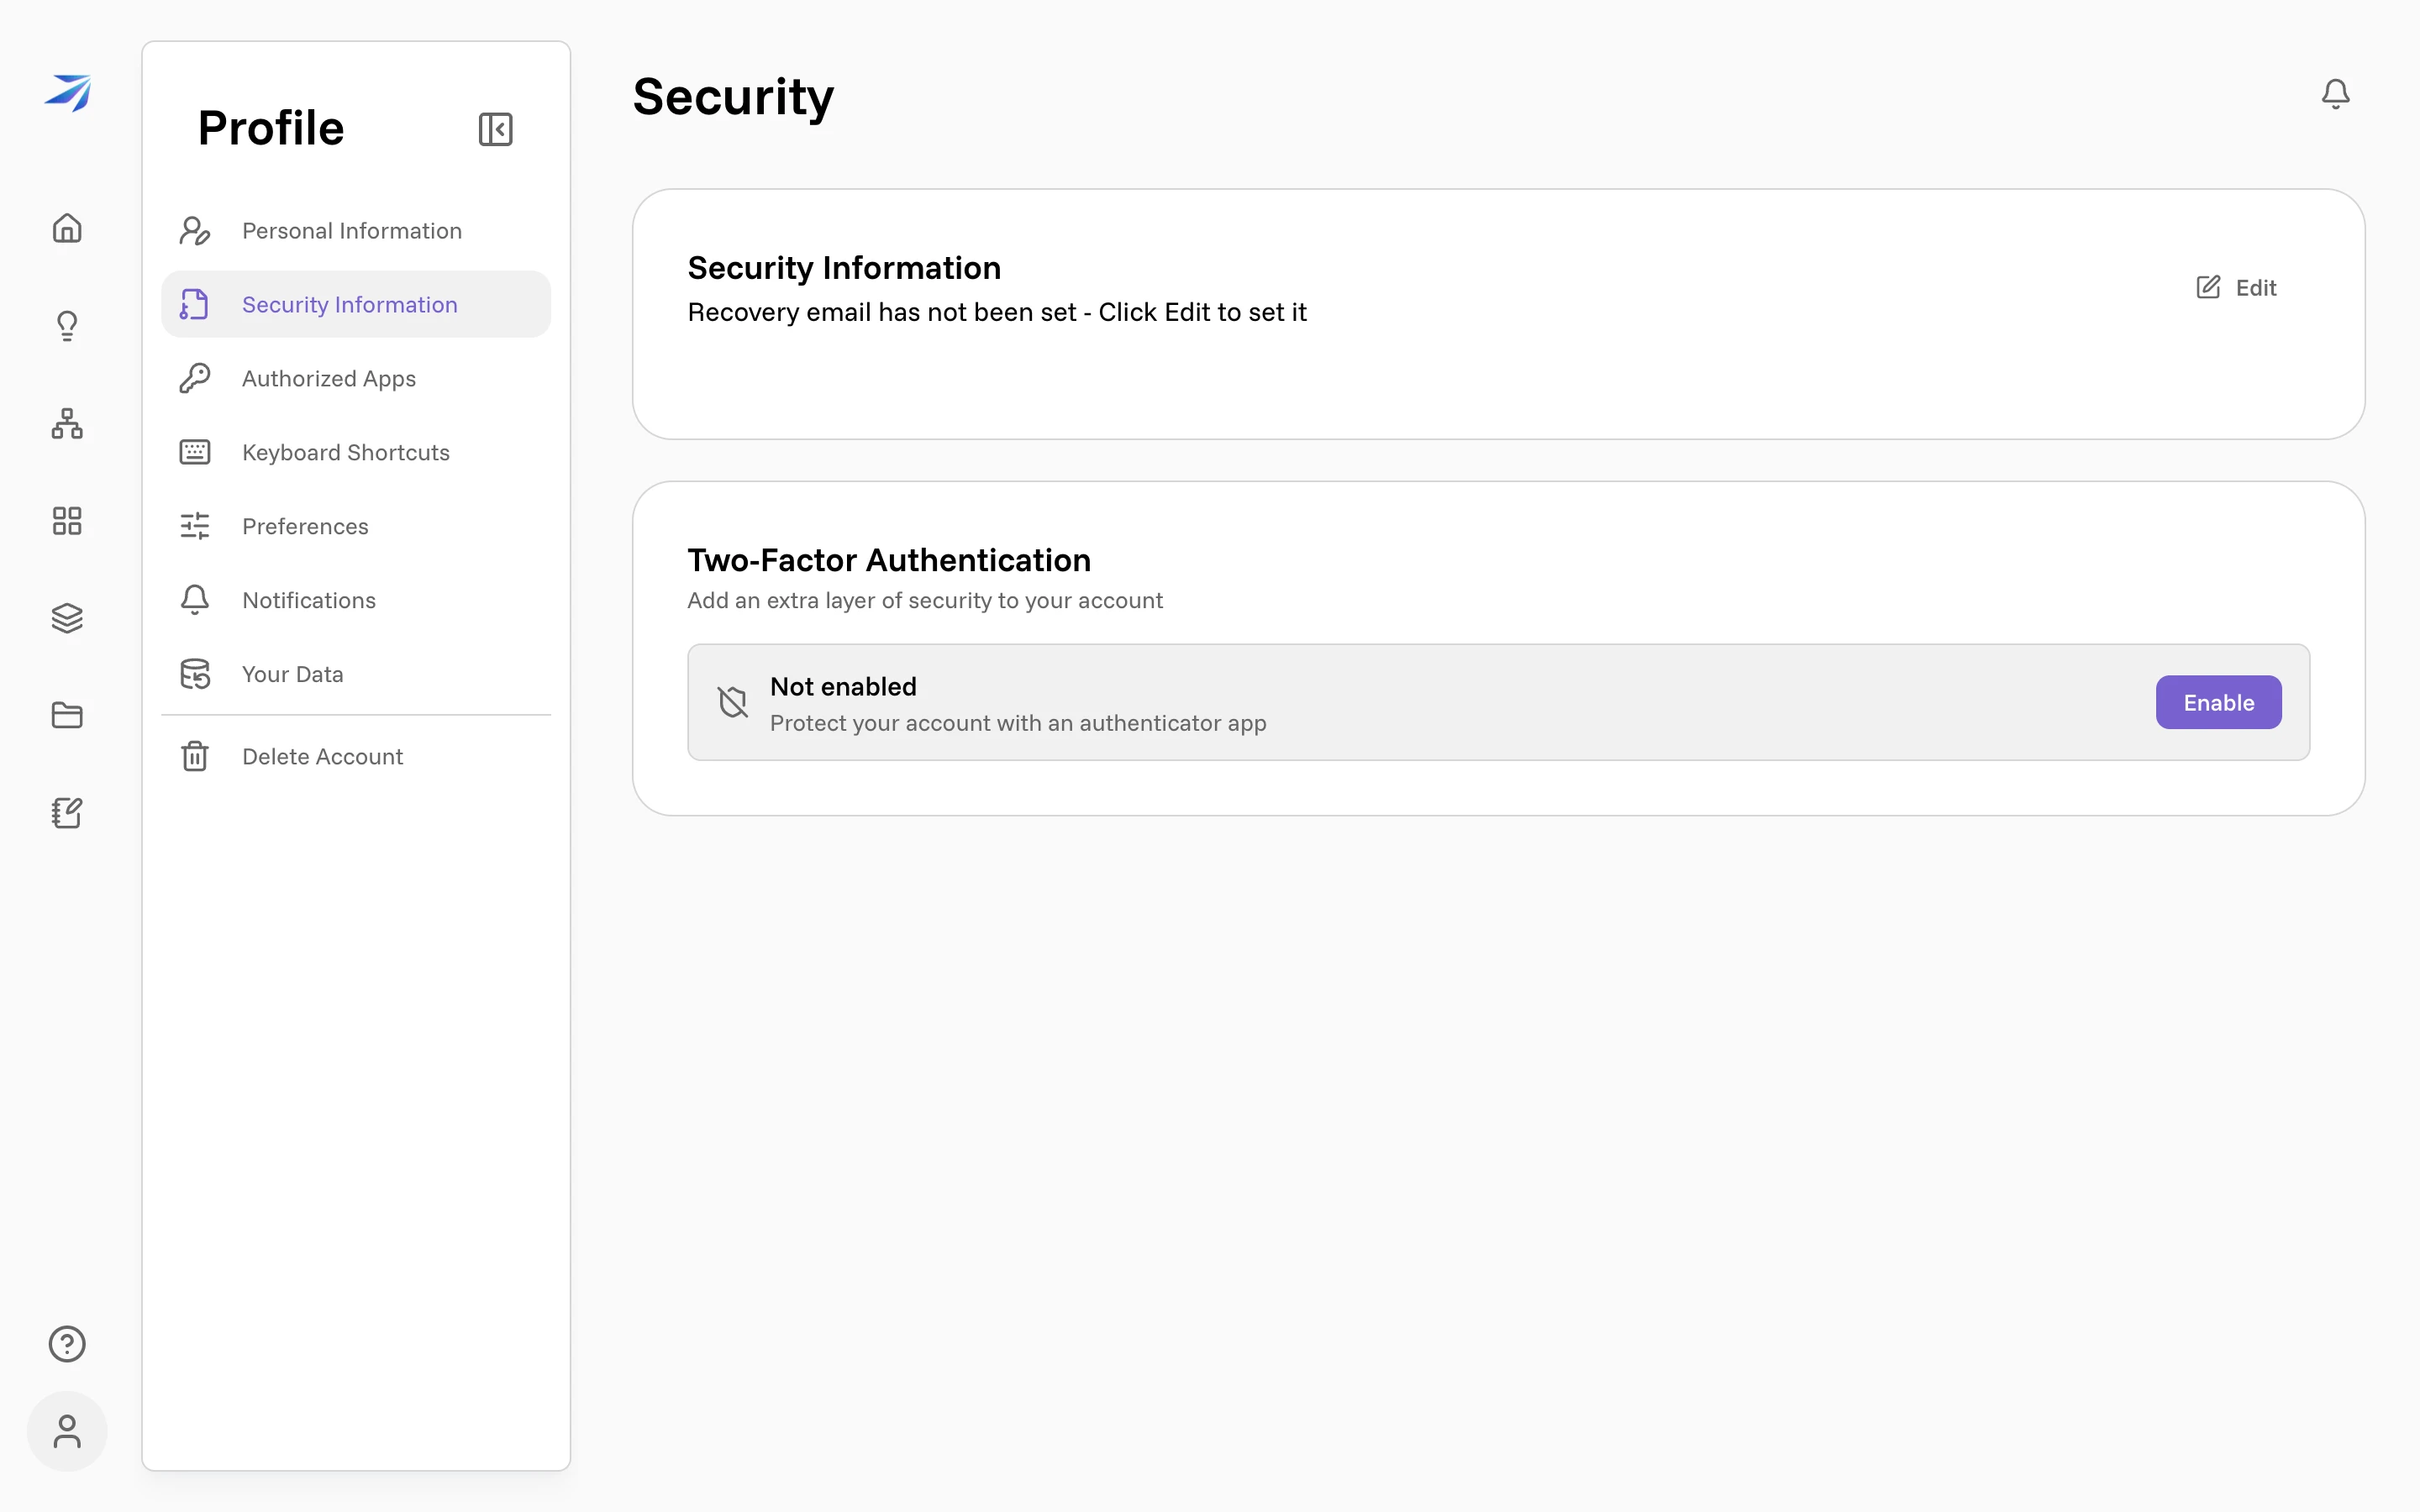
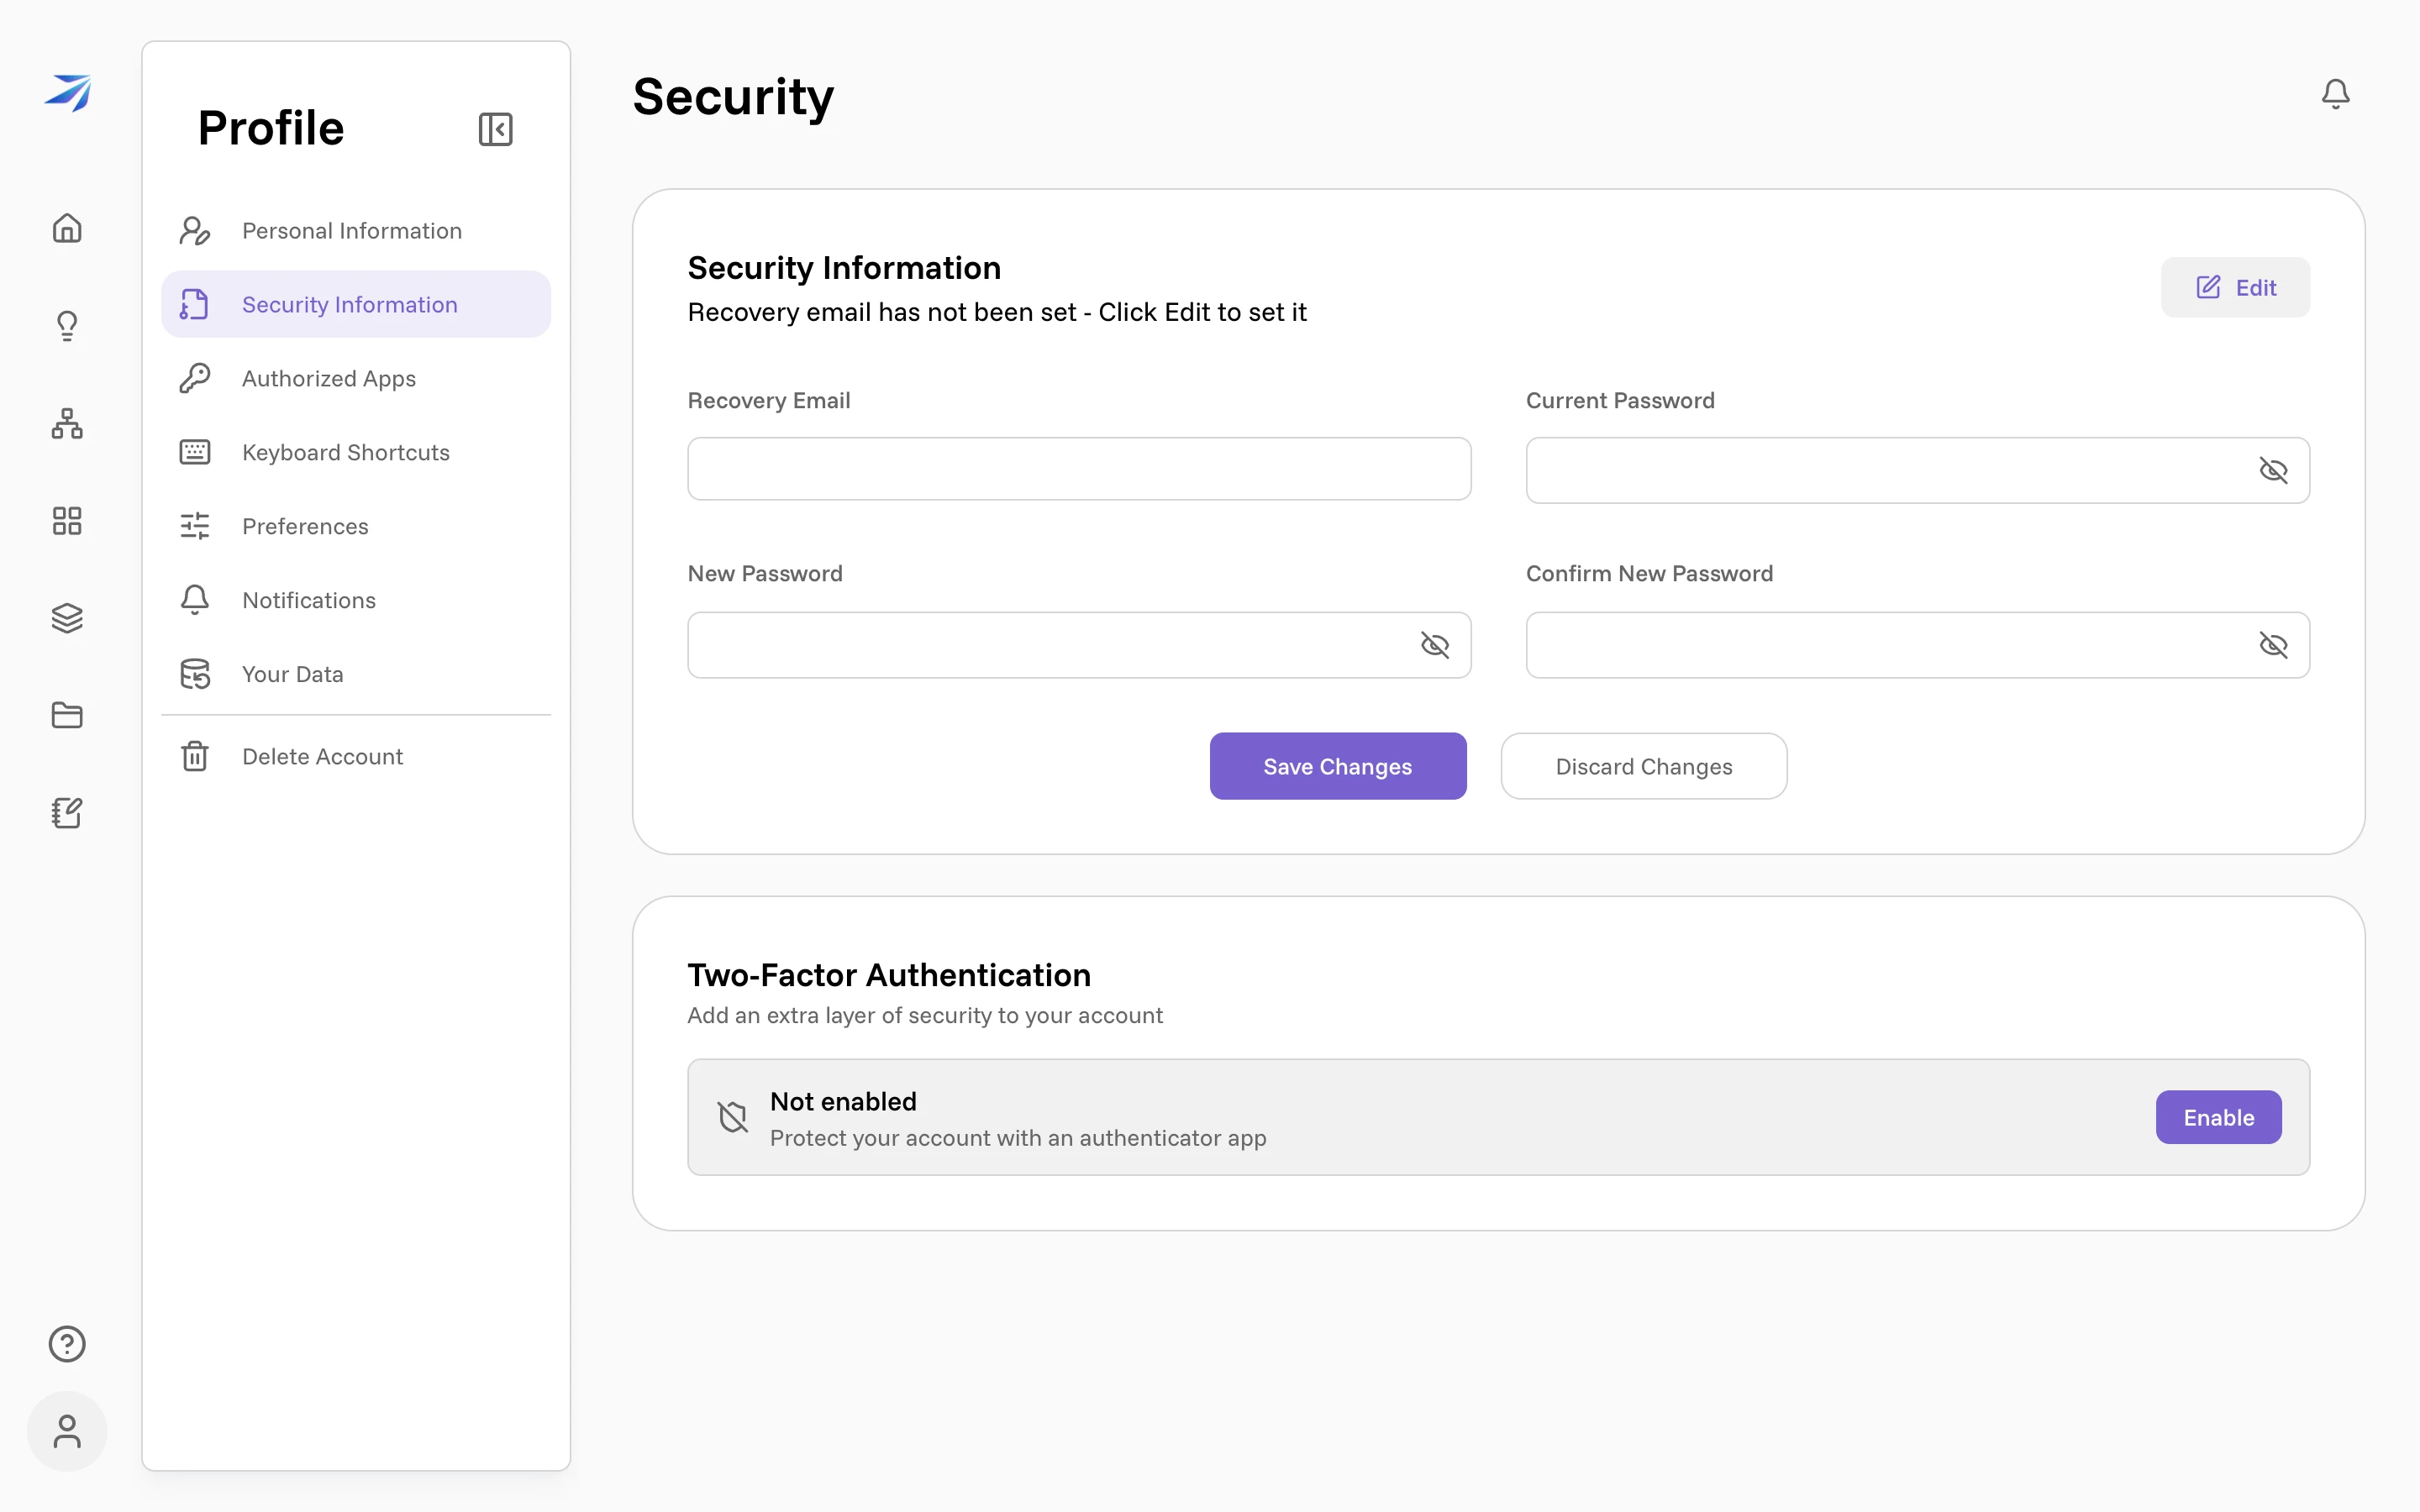
A recovery email is worth setting early. If you ever lose access to your main address, it's the difference between a quick reset and a support conversation.
Two-Factor Authentication
Two-factor authentication (2FA) protects your account with a code from an authenticator app on top of your password. Click Enable on the Security page. The setup describes three steps:
- Scan the QR code with your authenticator app — Google Authenticator, Authy, 1Password, and similar apps all work. If you can't scan, copy the setup code shown below the QR and enter it manually.
- Verify by typing the 6-digit code your app now shows.
- Save your backup codes. Futurity shows them exactly once. Each code can be used one time in place of an authenticator code — they are your way in if you lose your phone. Store them somewhere safe, not in the same place as your password.
From then on, logging in asks for your password and a current 6-digit code. If your phone isn't at hand, choose the backup-code option on the login screen and spend one of your saved codes.
The Security page shows how many backup codes you have left. To turn 2FA off, click Disable — you'll confirm with your password and one last authenticator code.
Authorized Apps
Third-party applications you've approved through an OAuth sign-in appear on the Authorized Apps page, and Revoke cuts one off at once. Until you authorize one, the page is empty — for most people it stays that way, and that's fine.