Managing your organization
Invite people in, see everyone in one place, and decide who administers what.
Someone has to bring people in, decide what each of them may do, and keep that tidy as the team changes. That's the Org area, the building icon at the bottom of the left rail. It holds five pages: My Organization (the dashboard below), User Management, Teams, Roles, and Tool Permissions.
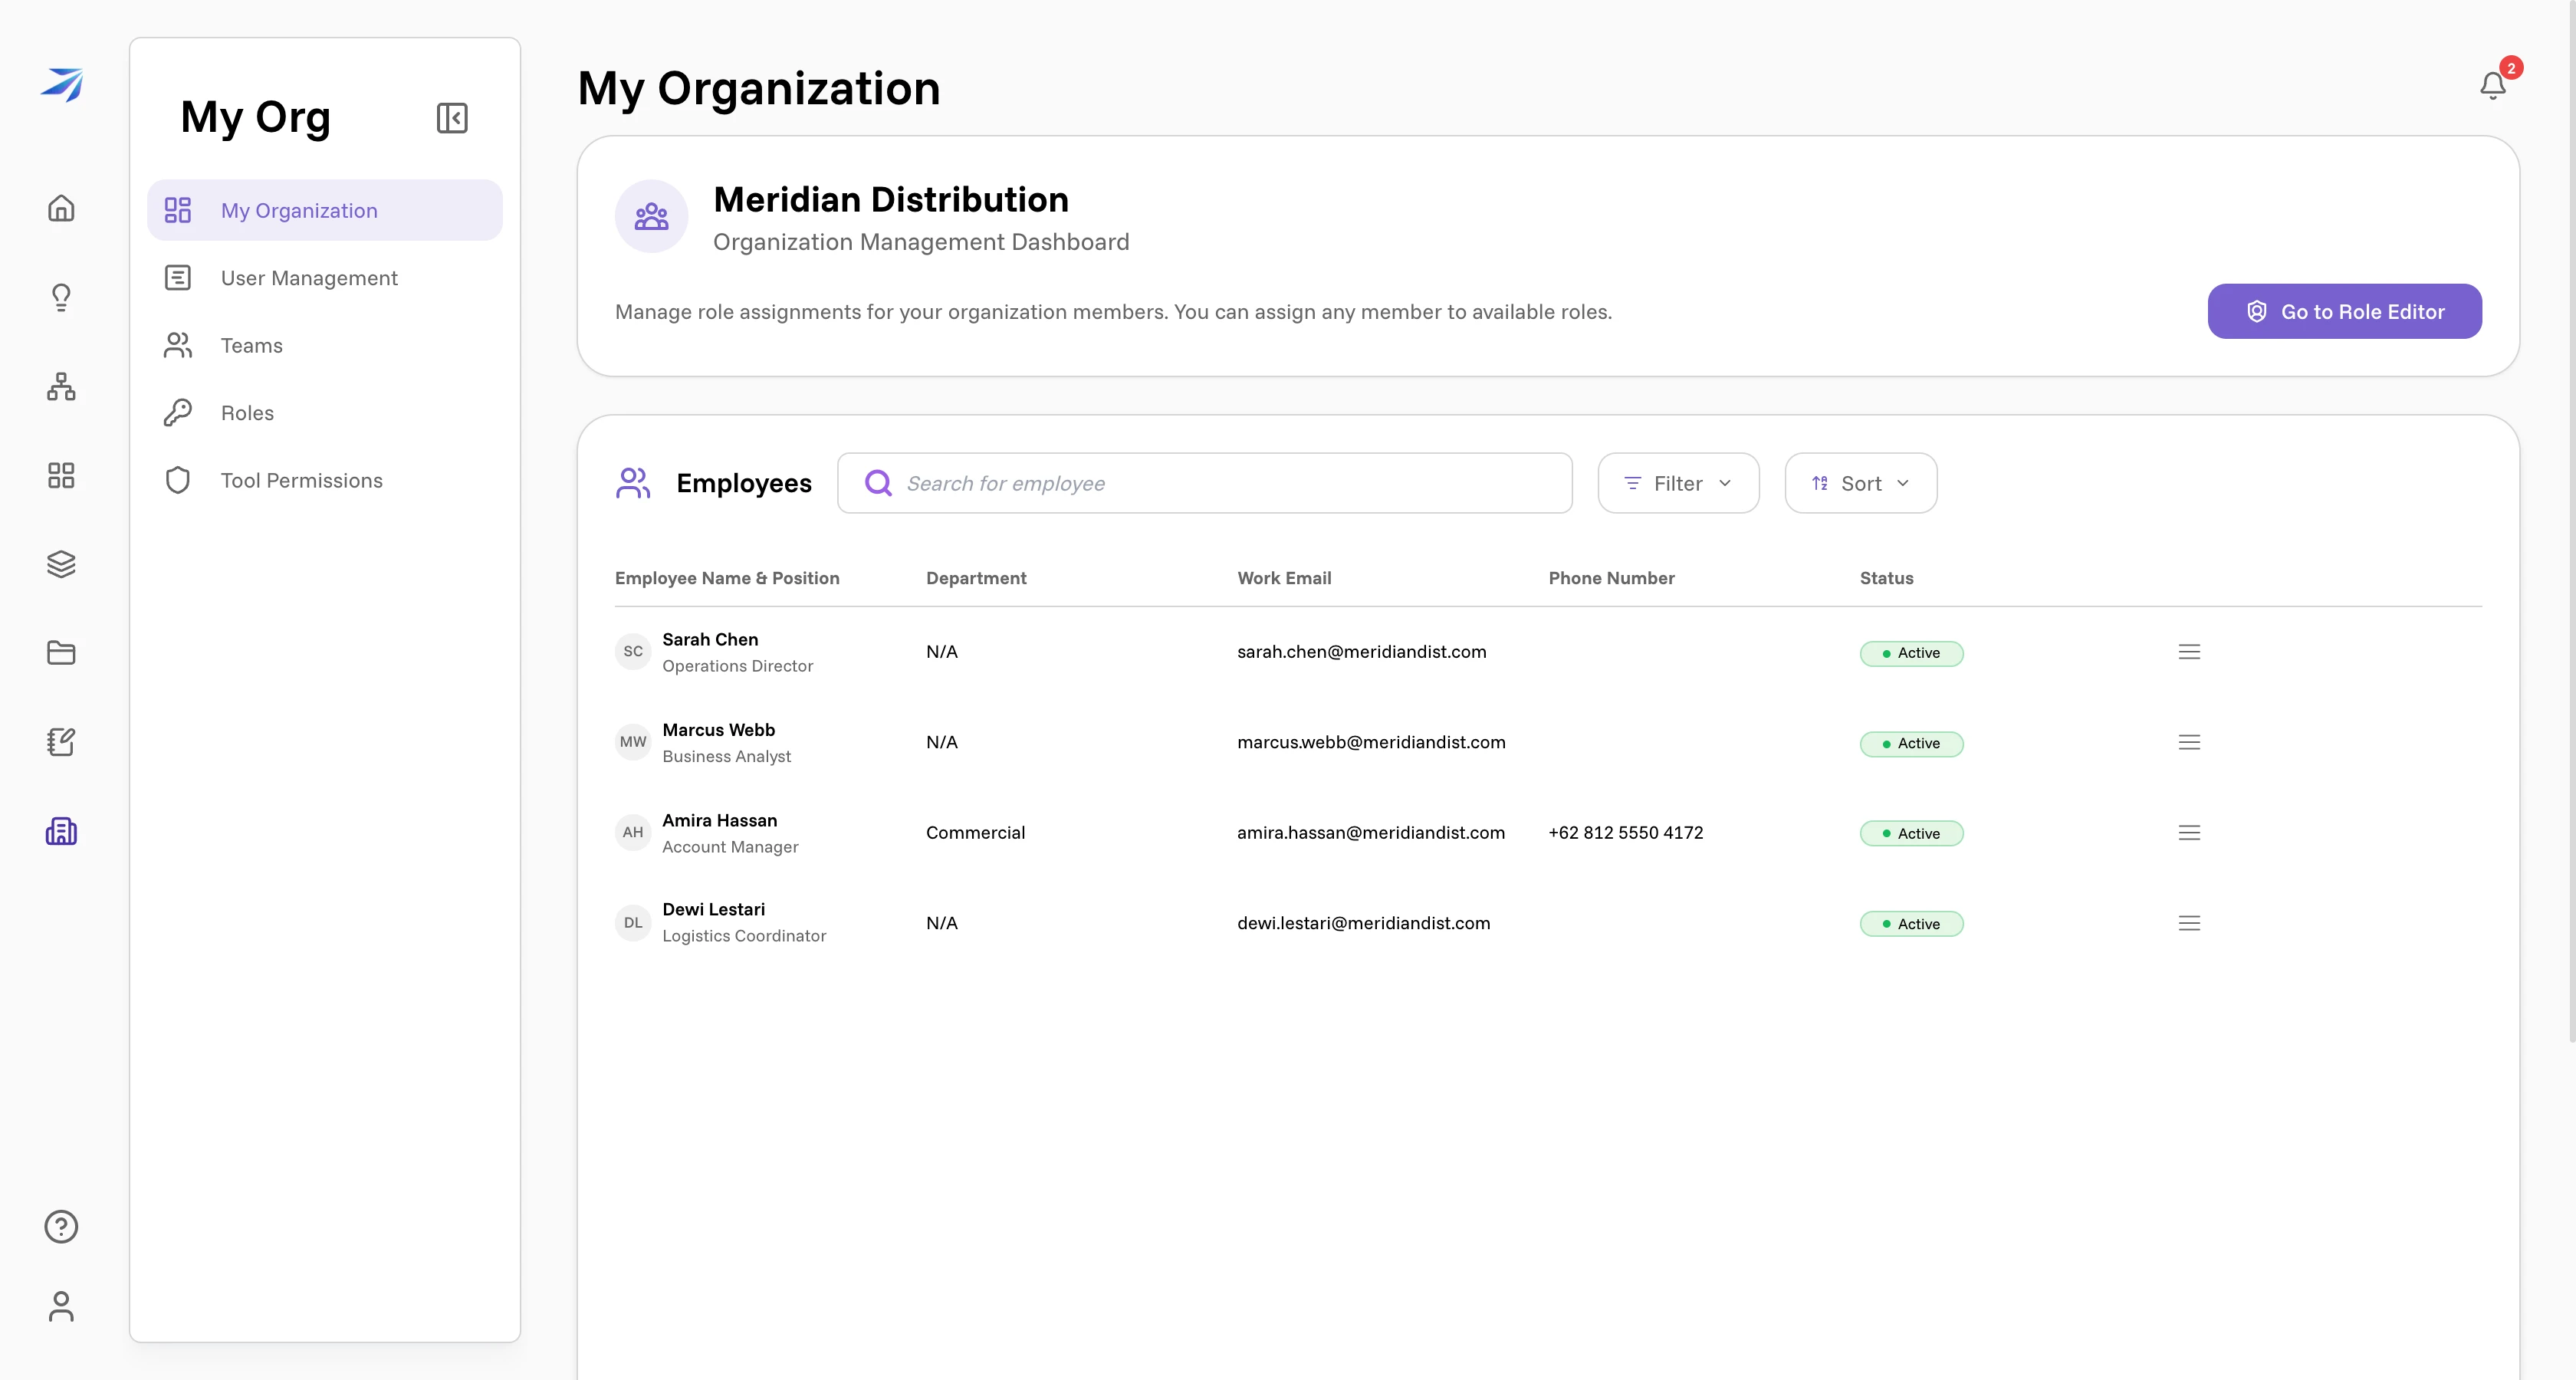
You may not see all five. Each entry appears only if you hold the permission
behind it — Roles needs manage:roles, Teams and User Management
need manage:users, and so on. Roles and permissions
explains which is which. If the Org area appears in your sidebar
at all, you hold at least one of them.
Invite someone to join
Futurity accounts exist only by invitation, so this is how a colleague gets in at all.
Scroll to the bottom of My Organization and press Create Invite. Two things appear, and both copy to the clipboard when clicked: a twelve-character code, and a link that carries the code inside it.

Send the person either one. The link is the kinder option — it spares them the code-entry step.
What the invitee sees
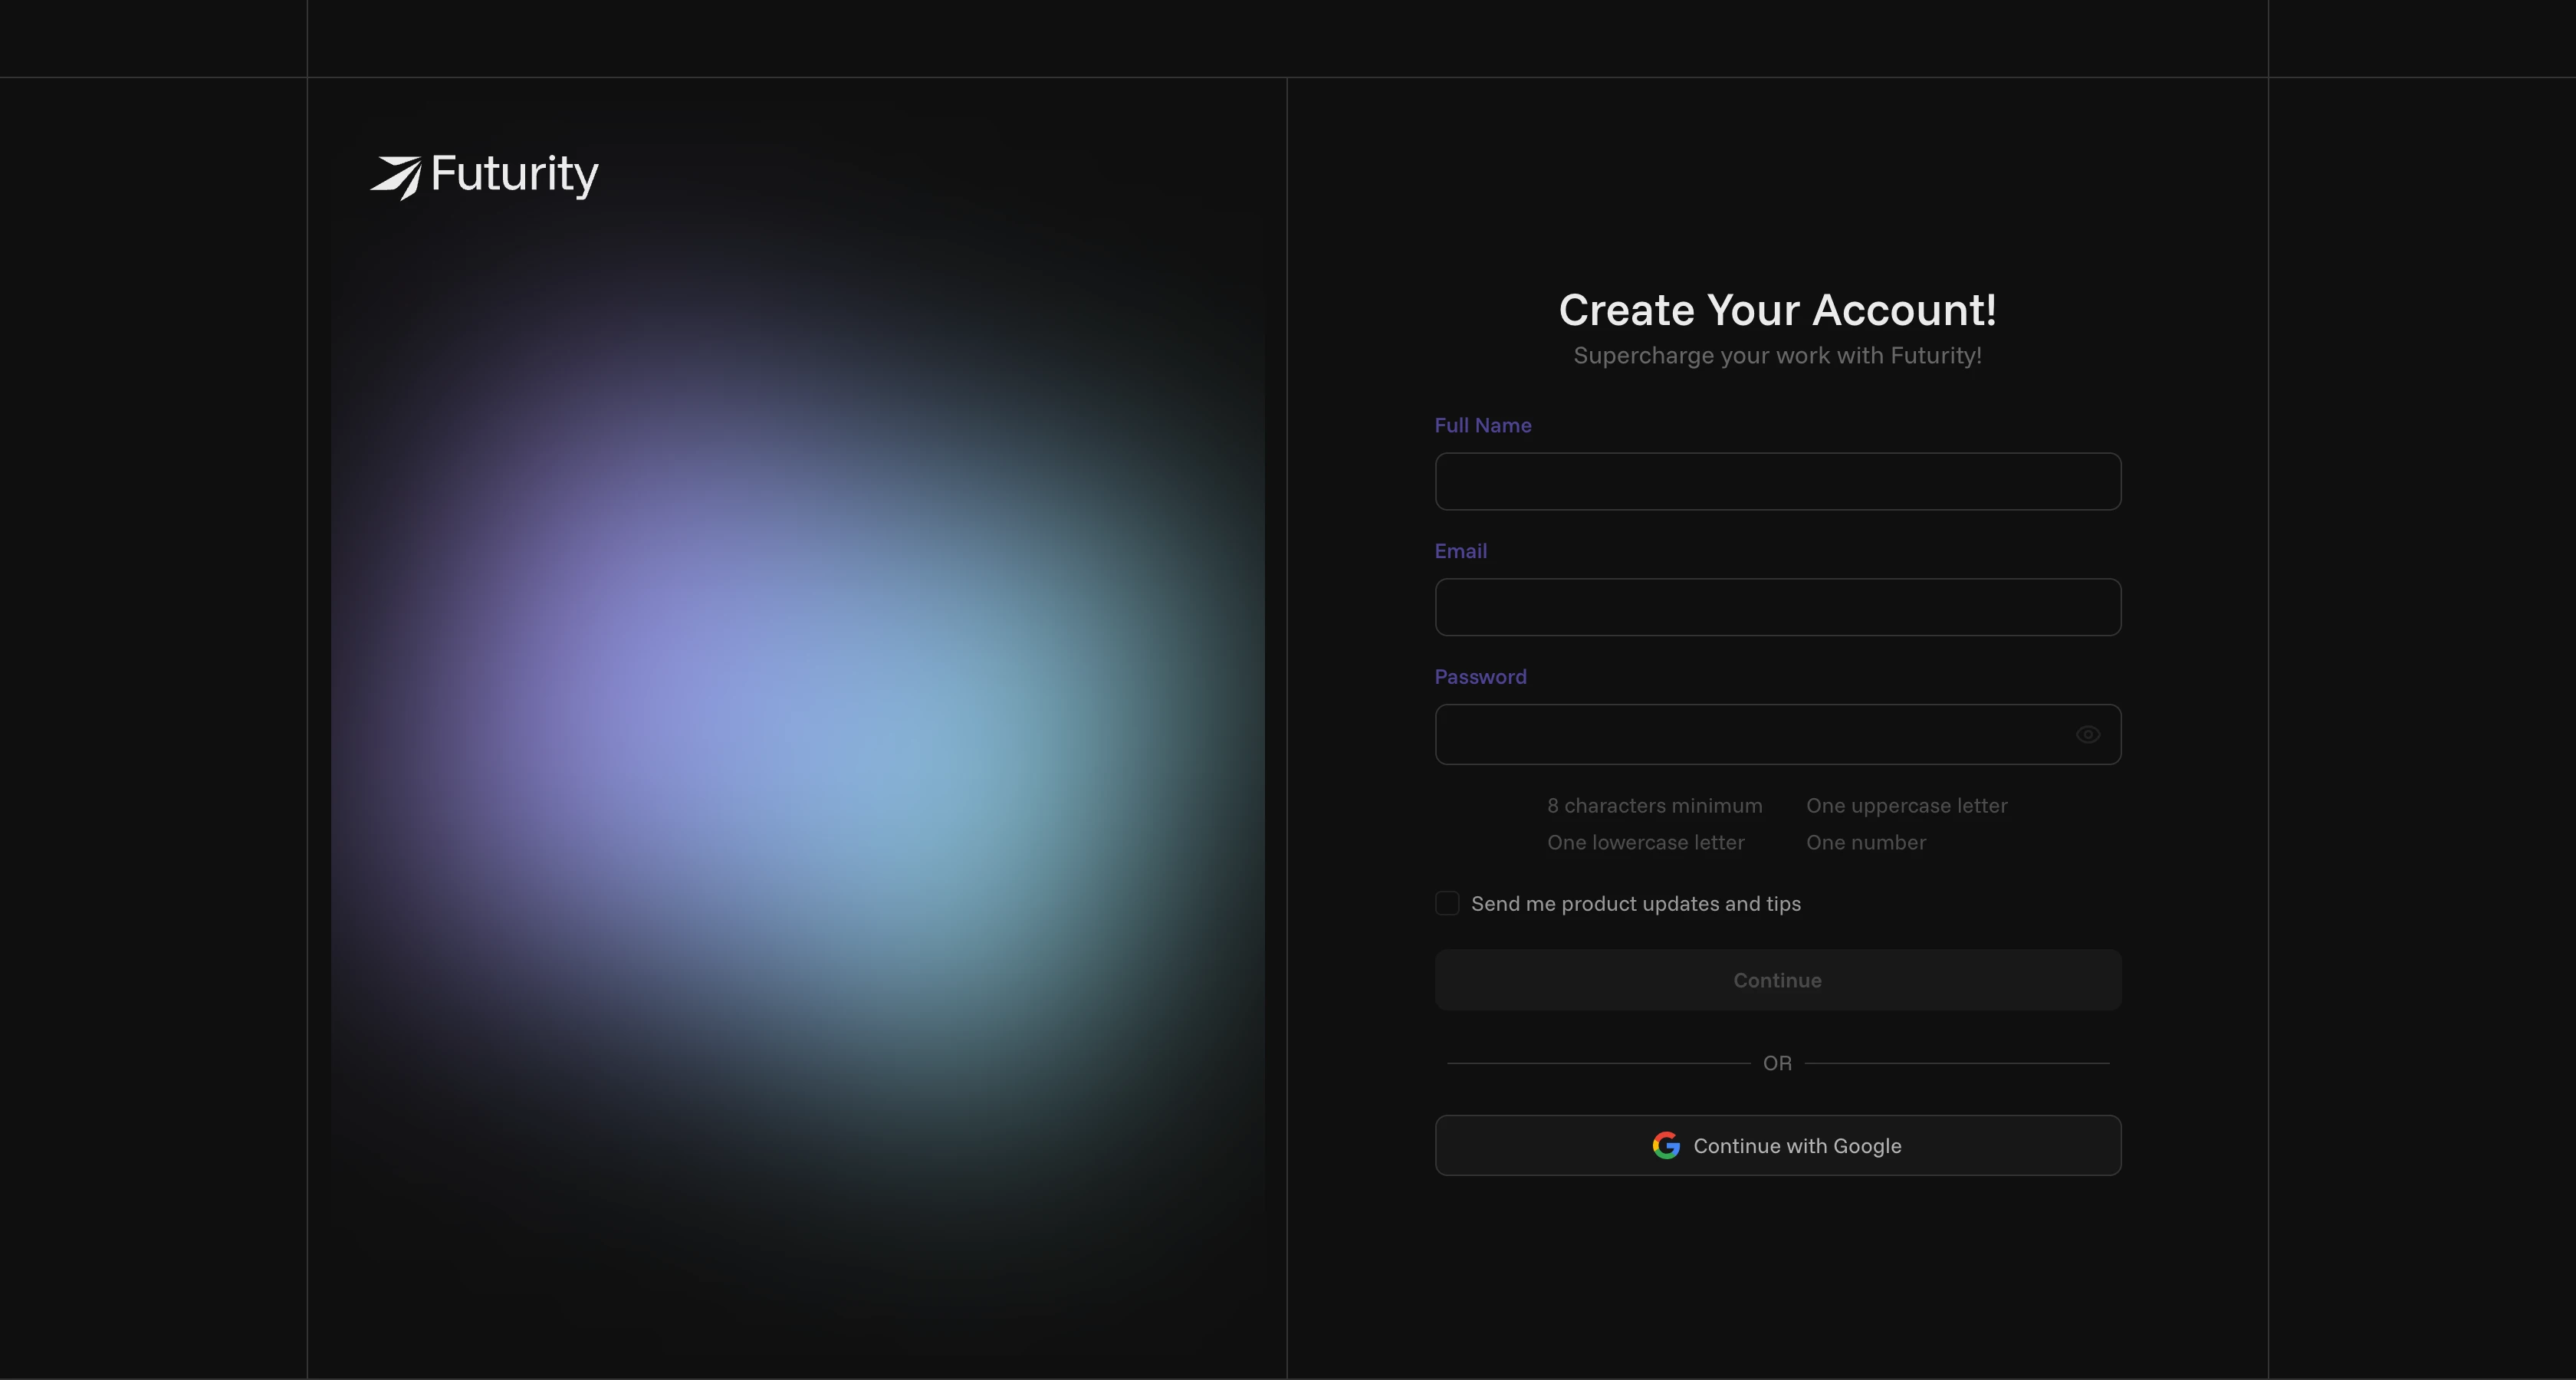
Opening the link takes them straight to Create Your Account!, with the invite already accepted. They fill in name, email, and password, then confirm a code sent to their email address.
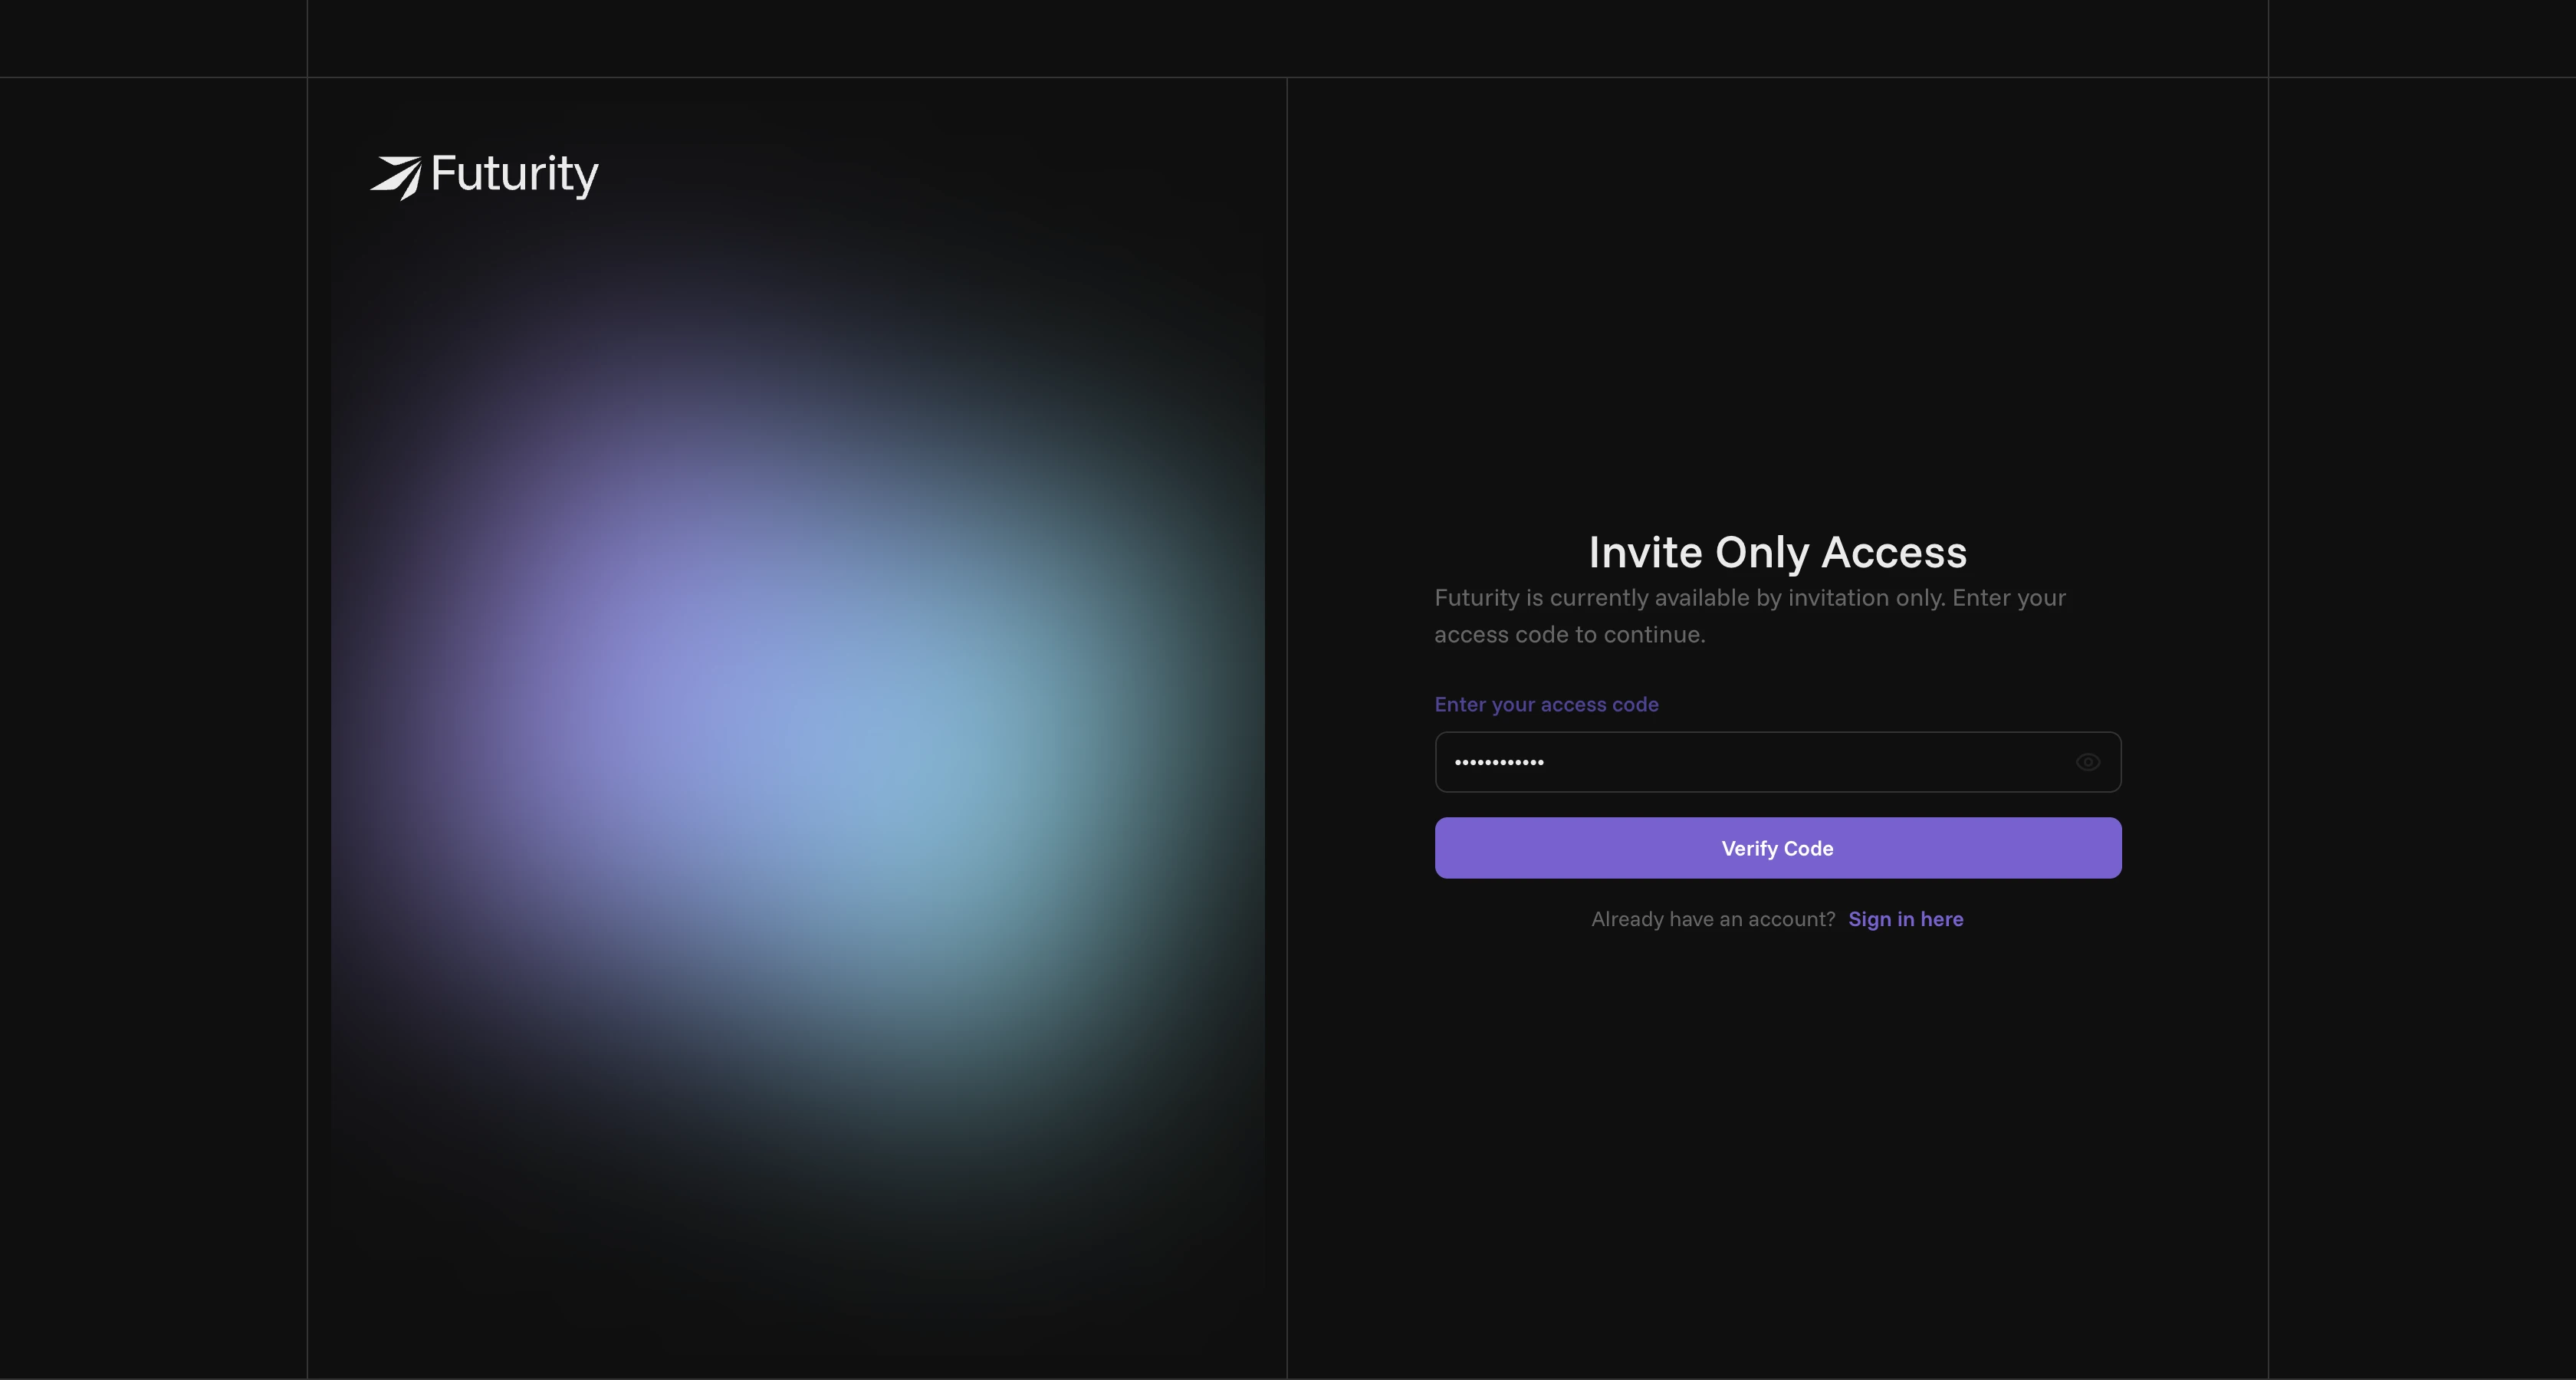
If you sent the bare code instead, they start one step earlier. Signing up without a link opens Invite Only Access: "Futurity is currently available by invitation only. Enter your access code to continue." There they paste the code and press Verify Code.
Either way, the new account joins your organization and appears in the employees table straight away. It arrives with your organization's default role if one is configured (Member in the screenshots here), and otherwise with no role at all. Neither case grants any administrative rights: a person with no role still uses Corint, the Vault, workflows, and dashboards normally. Anything beyond that you hand out yourself, in Roles and permissions.
Setting up your account walks the same journey from the new person's side — worth reading once so you know what you're asking them to do.
Treat the link like a password
An invite made from this button never expires and has no use limit, and this page keeps no list of the invites you've already made. Two habits follow:
- Copy the link before you navigate away. Leaving the page loses it, and the only way back is a fresh invite.
- Send it to one person, not to a channel or a group thread. Anyone holding it can create an account inside your organization.
If a link does get loose, deal with the account it created rather than the link: find the new person in User Management and suspend them, which blocks login and revokes their sessions. Users and departments covers that.
Read the employees table
The table on My Organization is the roster: Employee Name & Position, Department, Work Email, Phone Number, and Status. Search by name, narrow with Filter, reorder with Sort, and page through the list at the bottom.
Department reads N/A for everyone until you create departments — they're
a label on a person's record, not the same thing as a team. Both live in
Users and departments.
Hand out administrative rights
Go to Role Editor, at the top right of the org dashboard, is the shortcut to the part that decides who can do what: roles, the permissions inside them, and who holds each one. That's the next page.