Your first integration!
Build a small MCP plugin with the Futurity SDK, register it, and watch Corint call your own tool in a chat.
Some of what your company runs on will never be in the integrations catalog: the shipping API your team wrote, the service behind a VPN, the ERP endpoint only your network can reach. An integration is how you hand one of those to Corint — a small server you own, exposing a few named tools that Corint can call in the middle of a conversation.
This page builds one end to end. Shipping Status has two tools over a distributor's shipment data: look up one tracking number, and list everything running late. It runs on your laptop, registers on Futurity, and answers a real question in a chat. Expect half an hour.
The shipment rows in the example are hard-coded sample data, so the tutorial never depends on an API you don't have. Everywhere they appear, a real plugin would call your own service instead.
Before you start
- Bun. The SDK runs on Bun, not Node. - Plugin developer
access on your account: the
manage:developerAppsorganization permission, or a platform grant from Futurity (see Roles and permissions). Without it, registering a plugin from the Developer Tools tab is refused. Write to contact@futurity.work if nobody in your organization can grant it. - A public HTTPS address for your plugin. For a laptop, cloudflared gives you one in a single command; step 5 covers it.
Scaffold it
bunx create-futurity-plugin@latest shipping-status
cd shipping-status
That stamps a working plugin and installs the SDK:
shipping-status/
├── src/index.ts      the signed manifest, the middleware, and your tools
├── src/auth.ts       the token endpoint and the per-request credentials
├── scripts/keygen.ts the Ed25519 keypair generator
└── .env.example
The SDK is a thin wrapper over the Model Context Protocol: you describe tools, it runs the MCP server, serves your signed manifest, and speaks the transport Futurity connects with.
cp .env.example .env
bun run dev
It prints MCP server listening on http://localhost:3000/mcp, and that endpoint
is already a working MCP server with two example tools. The rest of this page
replaces them with your own, and gets Futurity to trust the result.
Write the two tools
A tool is a name, a description, an input schema, and a handler. The description is the part that decides everything — it is the only thing the agent reads when choosing which tool to call, so write it as when to use this, not as what this does internally.
Replace the scaffold's hello and whoami tools with these two:
import { z } from "zod";

// Sample rows stand in for the carrier API a real plugin would call.
const SHIPMENTS = [
  {
    tracking: "MD-48213",
    destination: "Surabaya",
    carrier: "JNE Trucking",
    status: "in_transit",
    etaDays: 2,
  },
  {
    tracking: "MD-48219",
    destination: "Medan",
    carrier: "Pelni Freight",
    status: "delayed",
    etaDays: 6,
  },
  {
    tracking: "MD-48224",
    destination: "Bandung",
    carrier: "JNE Trucking",
    status: "delivered",
    etaDays: 0,
  },
  {
    tracking: "MD-48231",
    destination: "Makassar",
    carrier: "Pelni Freight",
    status: "delayed",
    etaDays: 4,
  },
];

const Shipment = z.object({
  tracking: z.string(),
  destination: z.string(),
  carrier: z.string(),
  status: z.enum(["in_transit", "delayed", "delivered"]),
  etaDays: z.number(),
});

app
  .tool("shipment_status", {
    description:
      "Use when someone asks where a single shipment is, by tracking number. Returns carrier, destination and days to arrival.",
    input: z.object({
      tracking: z.string().describe("Tracking number, e.g. MD-48213"),
    }),
    output: Shipment.nullable(),
    handler: ({ tracking }) =>
      SHIPMENTS.find((s) => s.tracking === tracking.trim().toUpperCase()) ??
      null,
  })
  .tool("delayed_shipments", {
    description:
      "Use when someone asks which shipments are running late, or for a list of problem deliveries.",
    input: z.object({}),
    output: z.array(Shipment),
    handler: () => SHIPMENTS.filter((s) => s.status === "delayed"),
  });
A real plugin calls your own service where the sample rows are, with the credentials from step 3.
Decide how it authenticates
Futurity has to know whose credentials to use when it calls you. The scaffold
declares auth forwarding with the client_credentials grant: one set of
credentials belongs to the whole organization, an administrator configures them
once, and Futurity exchanges them for a token at your token endpoint before
calling your tools. That's the usual shape for a company's own internal API.
That declaration is the manifest already sitting in src/index.ts:
pluginManifest: {
  specVersion: 2,
  pluginId: "shipping-status",
  name: "Shipping Status",
  version: "0.1.0",
  mcpUrl: `${PUBLIC_URL}/mcp`,
  auth: {
    type: "forwarding",
    grantType: "client_credentials",
    tokenEndpoint: `${PUBLIC_URL}/oauth/token`,
    requiredScopes: [],
    deliveryMethod: "header",
  },
  signingKey,
}
The scaffold names the plugin after the directory, so set name to the label
people should see in the catalog. The endpoint the manifest names lives in src/auth.ts, where the scaffold left a stub.
Futurity posts the administrator's credentials there, caches what you return
until shortly before expires_in, and forwards access_token on every tool
call:
// YOUR CODE HERE: exchange these credentials with the system you wrap, and
// return its token. The stub below lets the whole flow run end to end first.
return Response.json({
  access_token: `${clientId}-demo-token`,
  token_type: "Bearer",
  expires_in: 3600,
});
The four auth types, and which one suits which system, are laid out in Plugin authentication.
Sign the manifest
Futurity fetches your manifest and checks its signature before it will trust
anything the plugin says about itself. The scaffold's scripts/keygen.ts
calls generateKeyPair() from @futurity/plugins/signing and prints both
halves:
bun run keygenPrivate key (PKCS8 DER, base64) — keep secret, put it in .env:
FUTURITY_SIGNING_KEY=MC4CAQAwBQYDK2VwBCIEI...your-generated-private-key...
Public key (SPKI DER, base64) — paste this into Futurity when you register:
MCowBQYDK2VwAyEADsMf9gQWjPoB5sB2SuIX9xuEtpIMwpFlUVAtd4Bx6UQ=Put the private key in .env as FUTURITY_SIGNING_KEY and keep the public one
on your clipboard — you'll paste it into Futurity in step 6. Restart the server
and check what it now publishes:
curl -i http://localhost:3000/.well-known/futurity/pluginHTTP/1.1 200 OK
Content-Type: application/json
X-Futurity-Signature: eyJhbGciOiJFZERTQSIsImI2NCI6ZmFsc2UsImNyaXQiOlsiYjY0Il19..55Ejy-ki…
{"specVersion":2,"pluginId":"shipping-status","name":"Shipping Status","version":"0.1.0",…}The body is the manifest; the header is its detached signature. If the signature doesn't verify against the public key you register, Futurity refuses the plugin rather than calling it.
Put it on a public HTTPS address
Futurity fetches the manifest and calls the tools from its own servers, so
localhost won't do. While you're still developing, a quick tunnel is enough:
cloudflared tunnel --url http://localhost:3000
# https://theater-substance-scuba-goat.trycloudflare.com
Restart the plugin with that address so the URLs it publishes match the ones Futurity can actually reach:
PUBLIC_URL=https://theater-substance-scuba-goat.trycloudflare.com bun run src/index.tsA tunnel URL changes every time you restart it, and each change means updating the registration. Move to a stable host before anyone but you relies on the plugin.
Register it
In Corint, open Integrations in the left panel and pick the Developer Tools tab. This is your own shelf: the integrations you've registered, none of anyone else's.
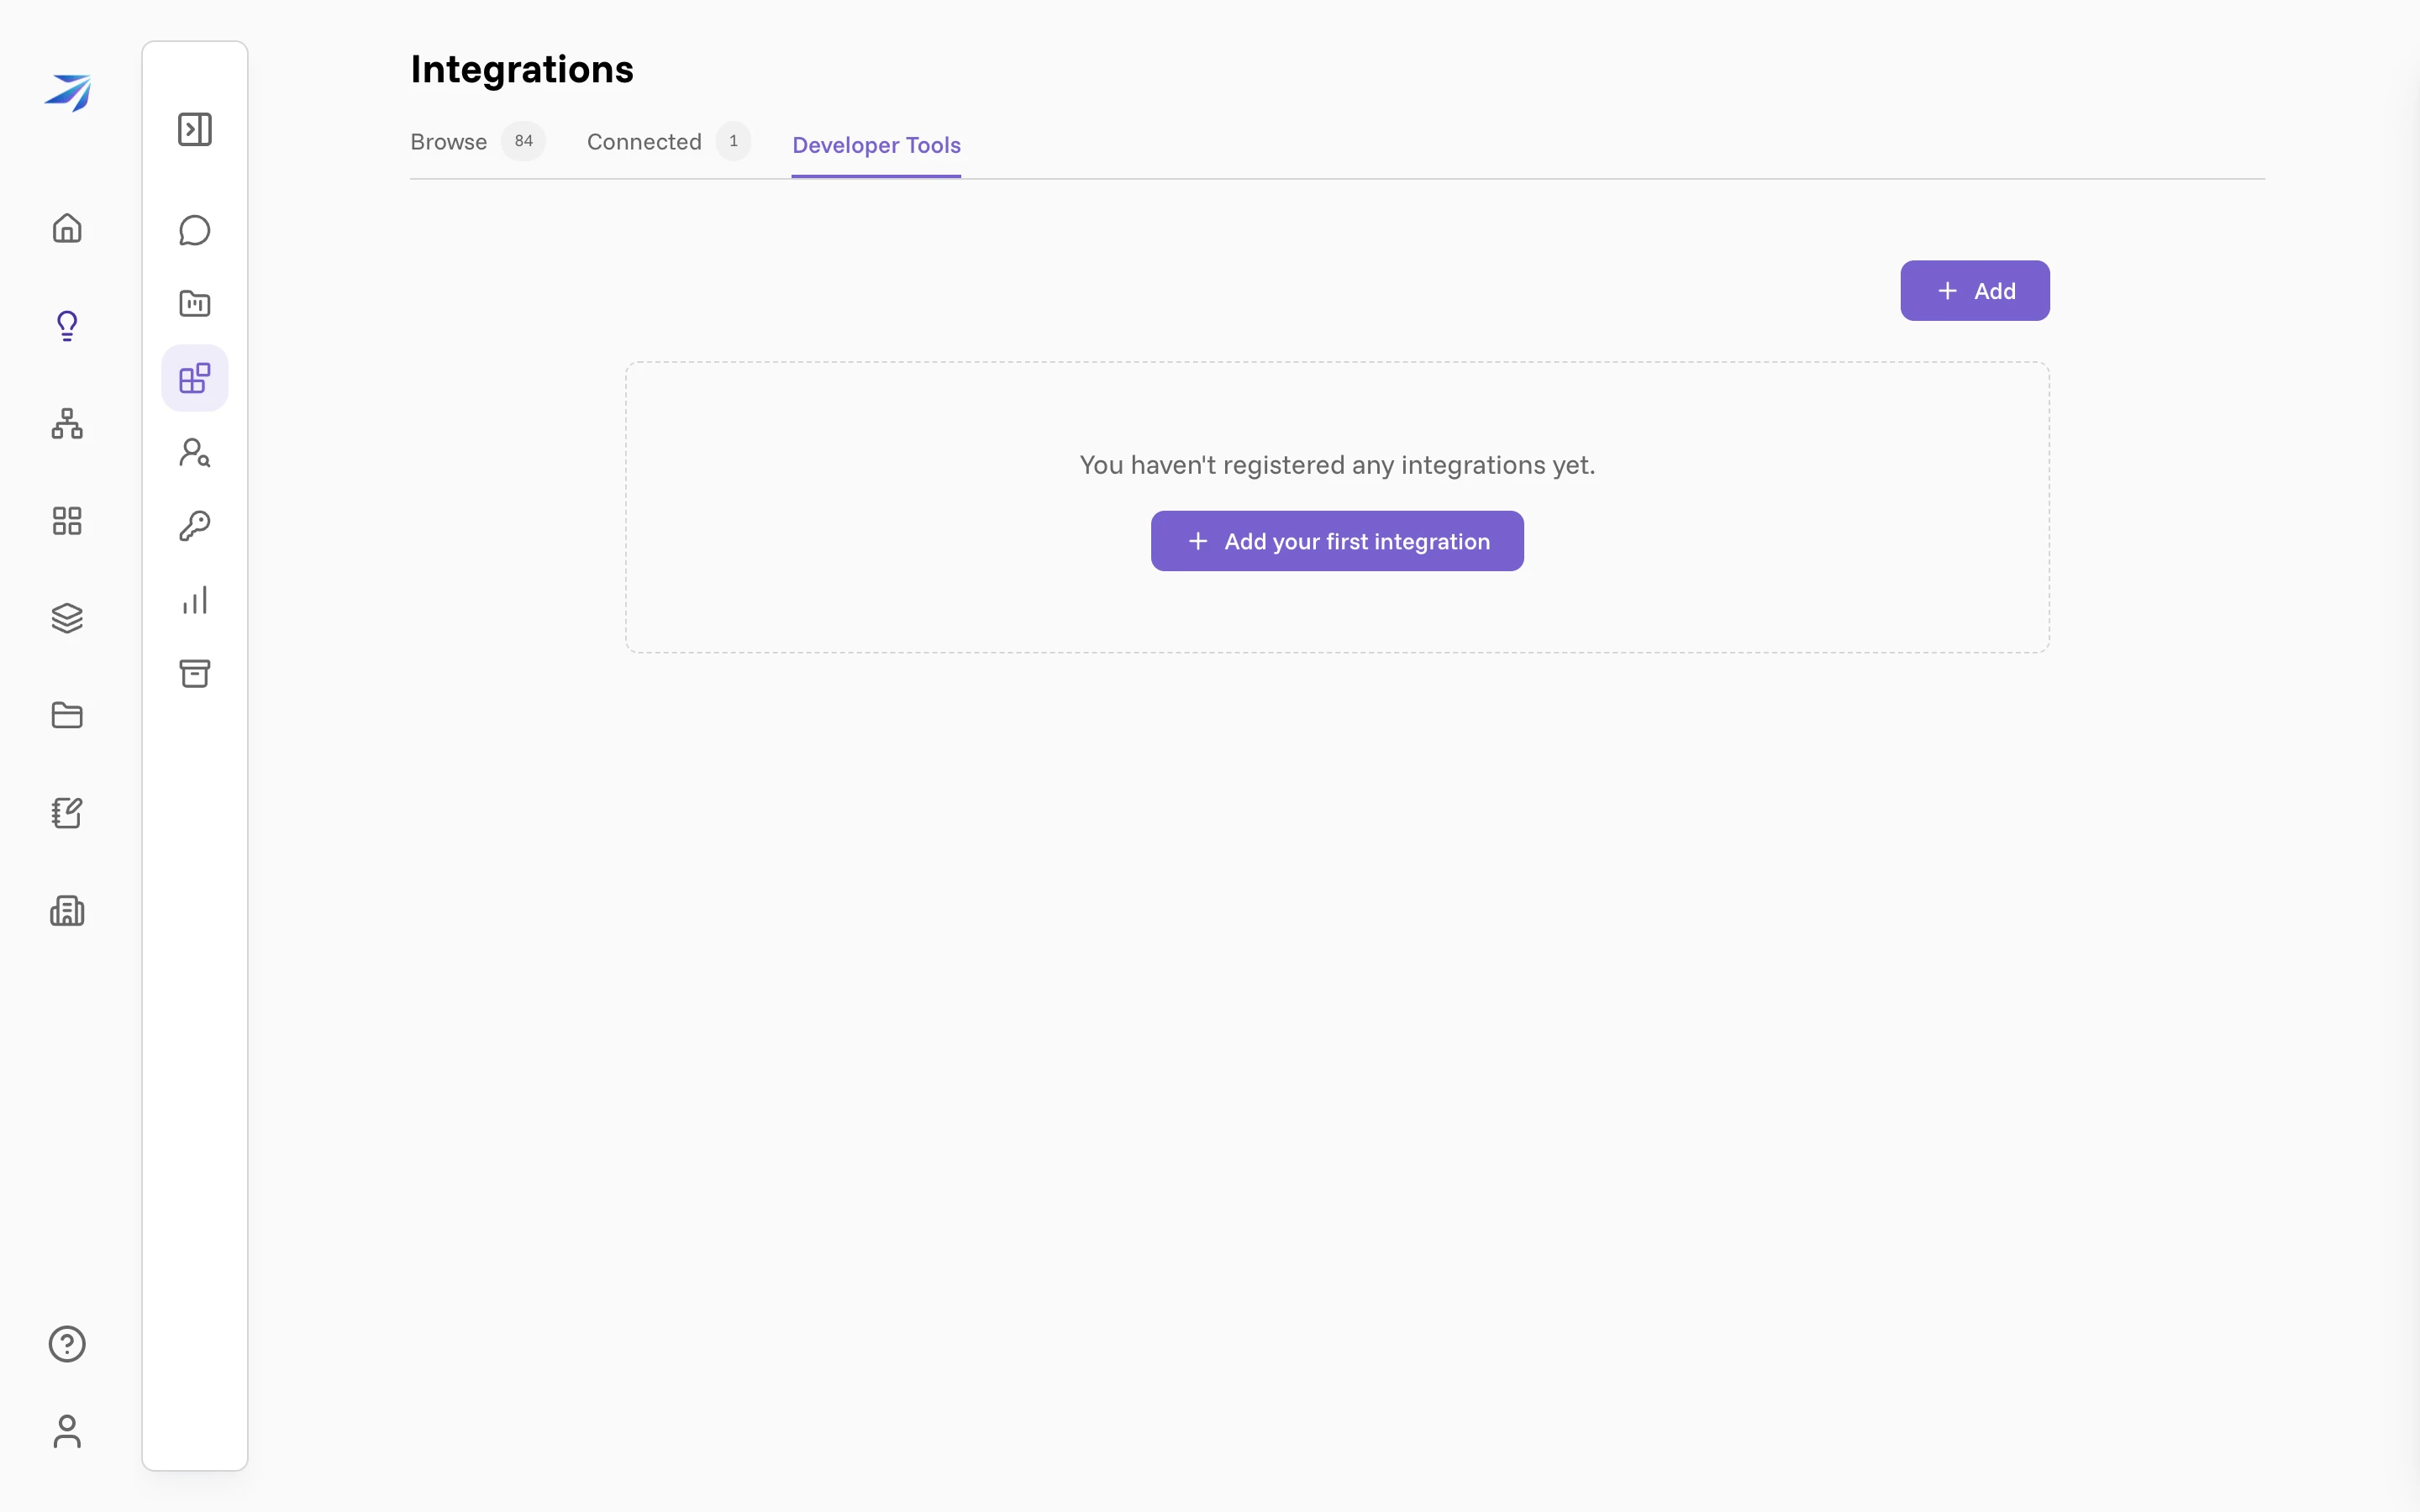
Click Add, paste your public address (the base URL, not the /mcp path)
and click Discover.
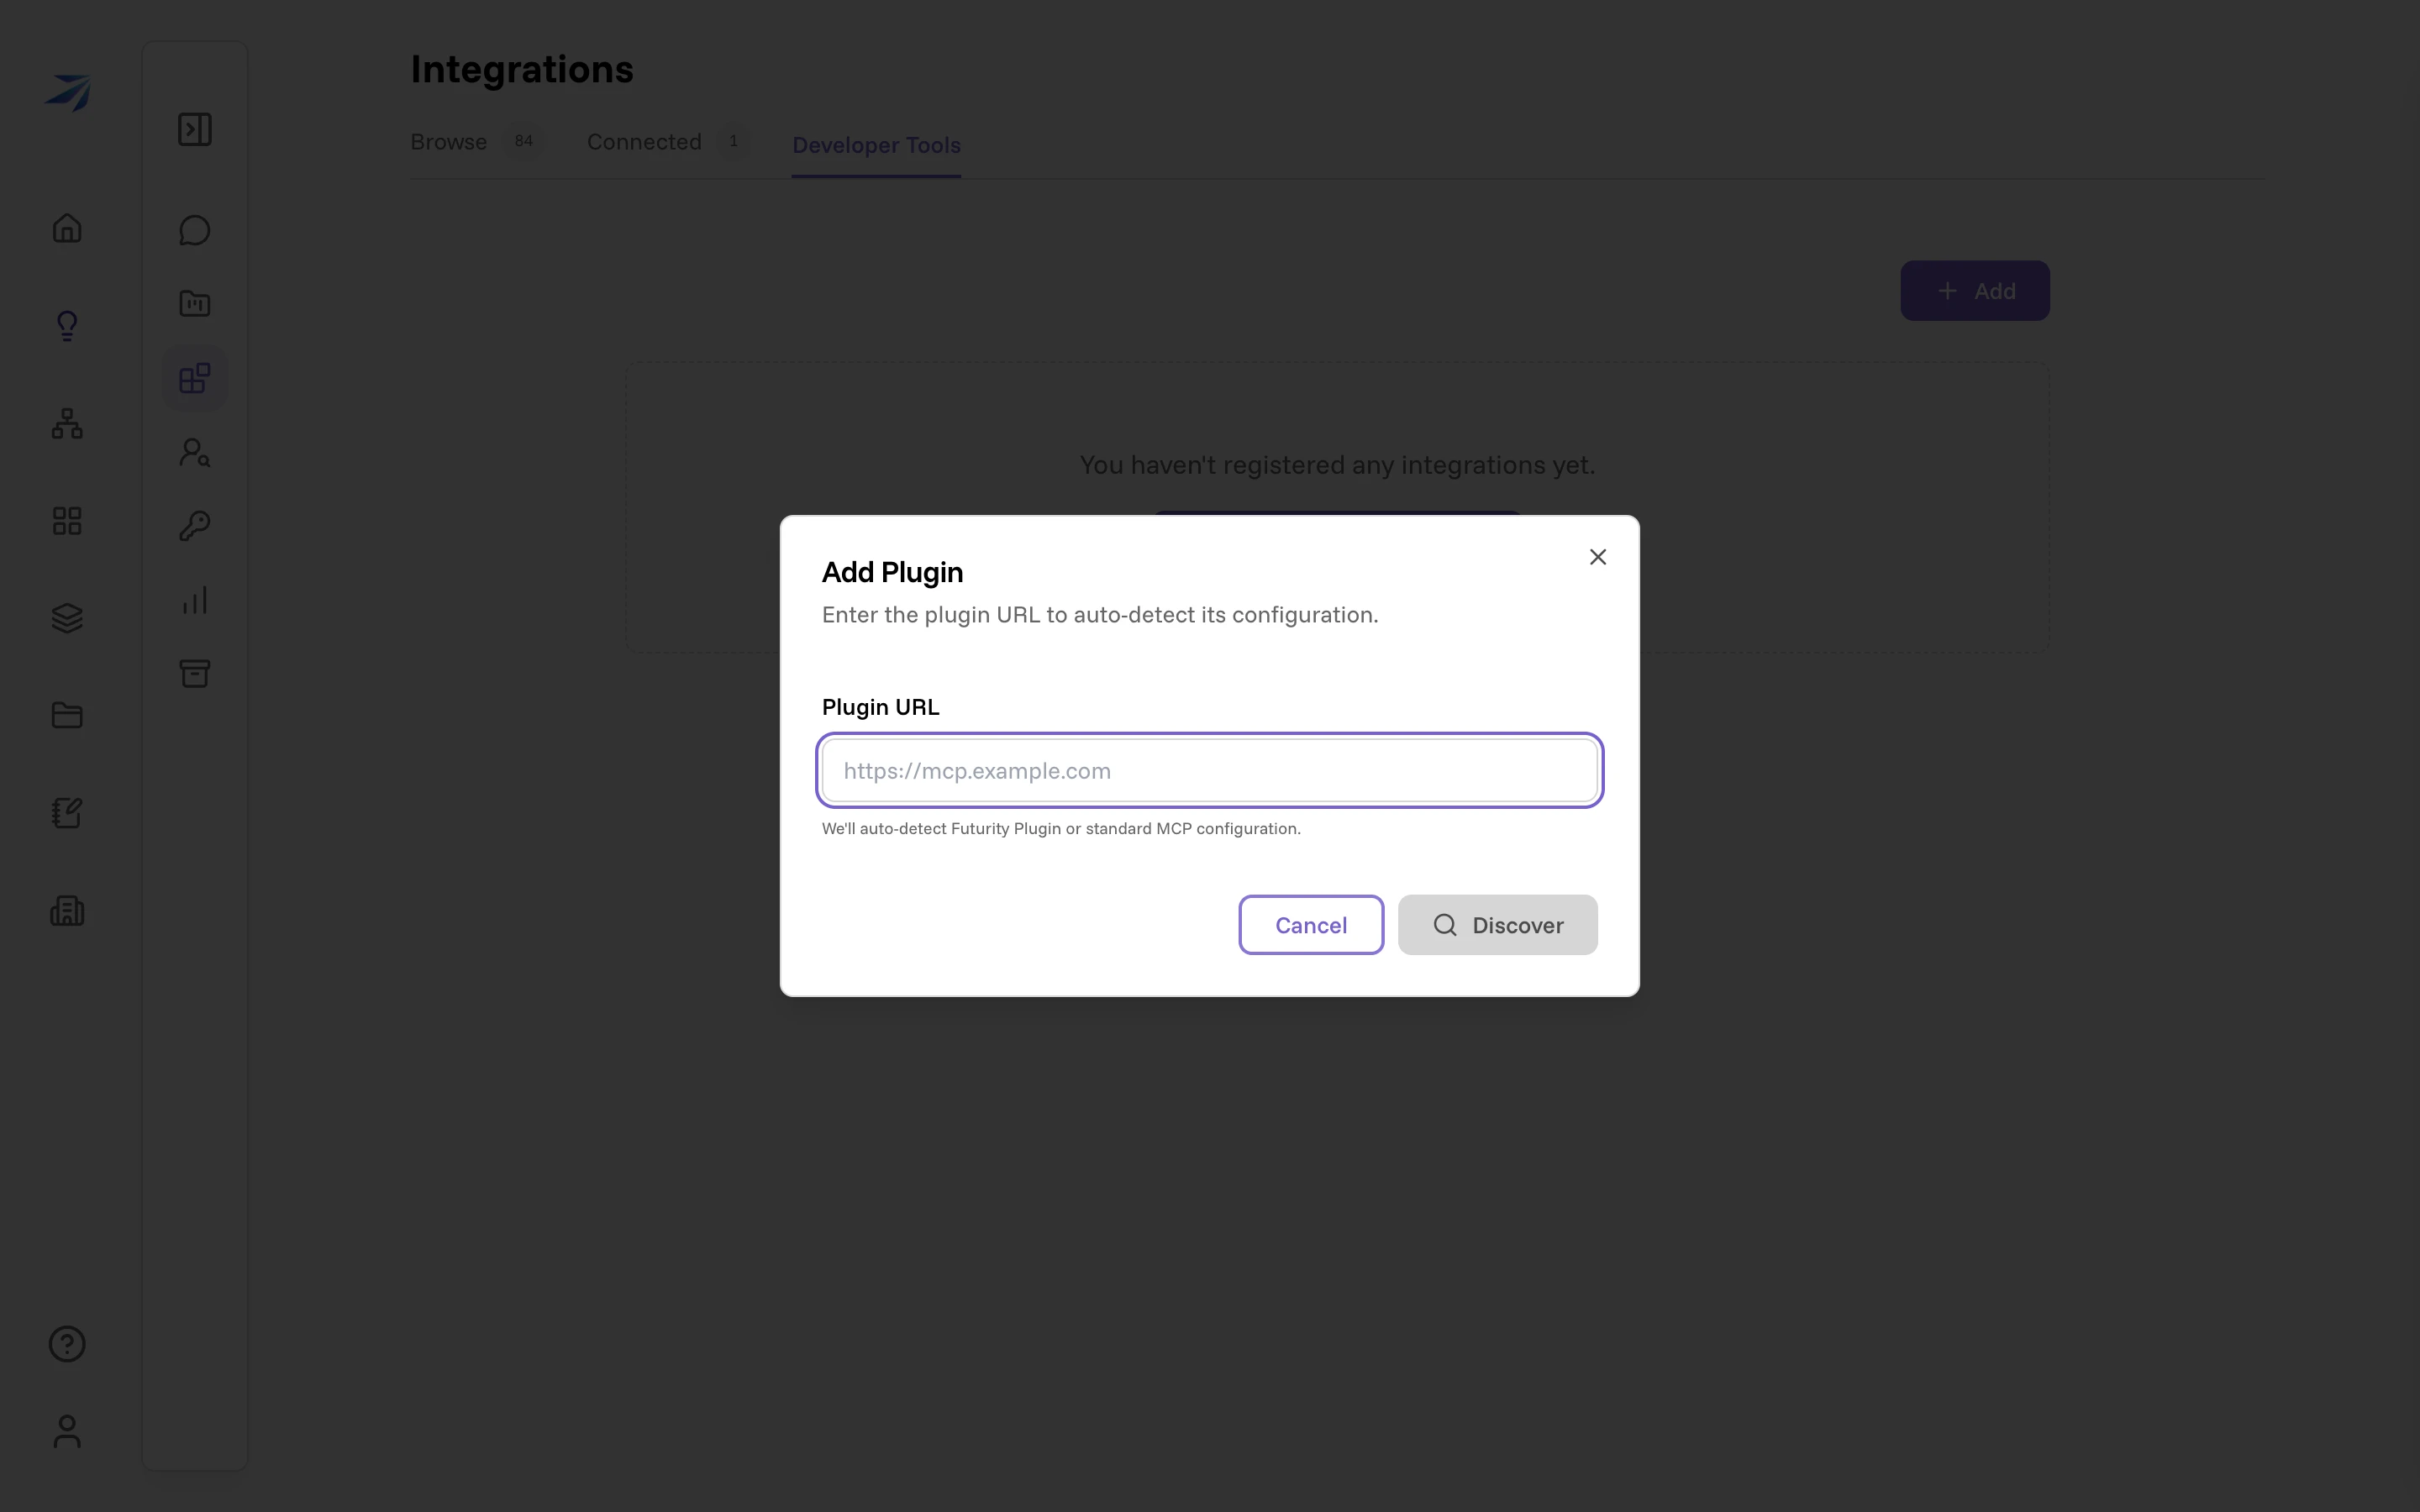
Futurity reads /.well-known/futurity/plugin, shows you the name, version and
scopes it found, and asks for the signing public key from step 4. Paste it
and click Register Plugin. The signature is verified at that moment; a
mismatch fails the registration.
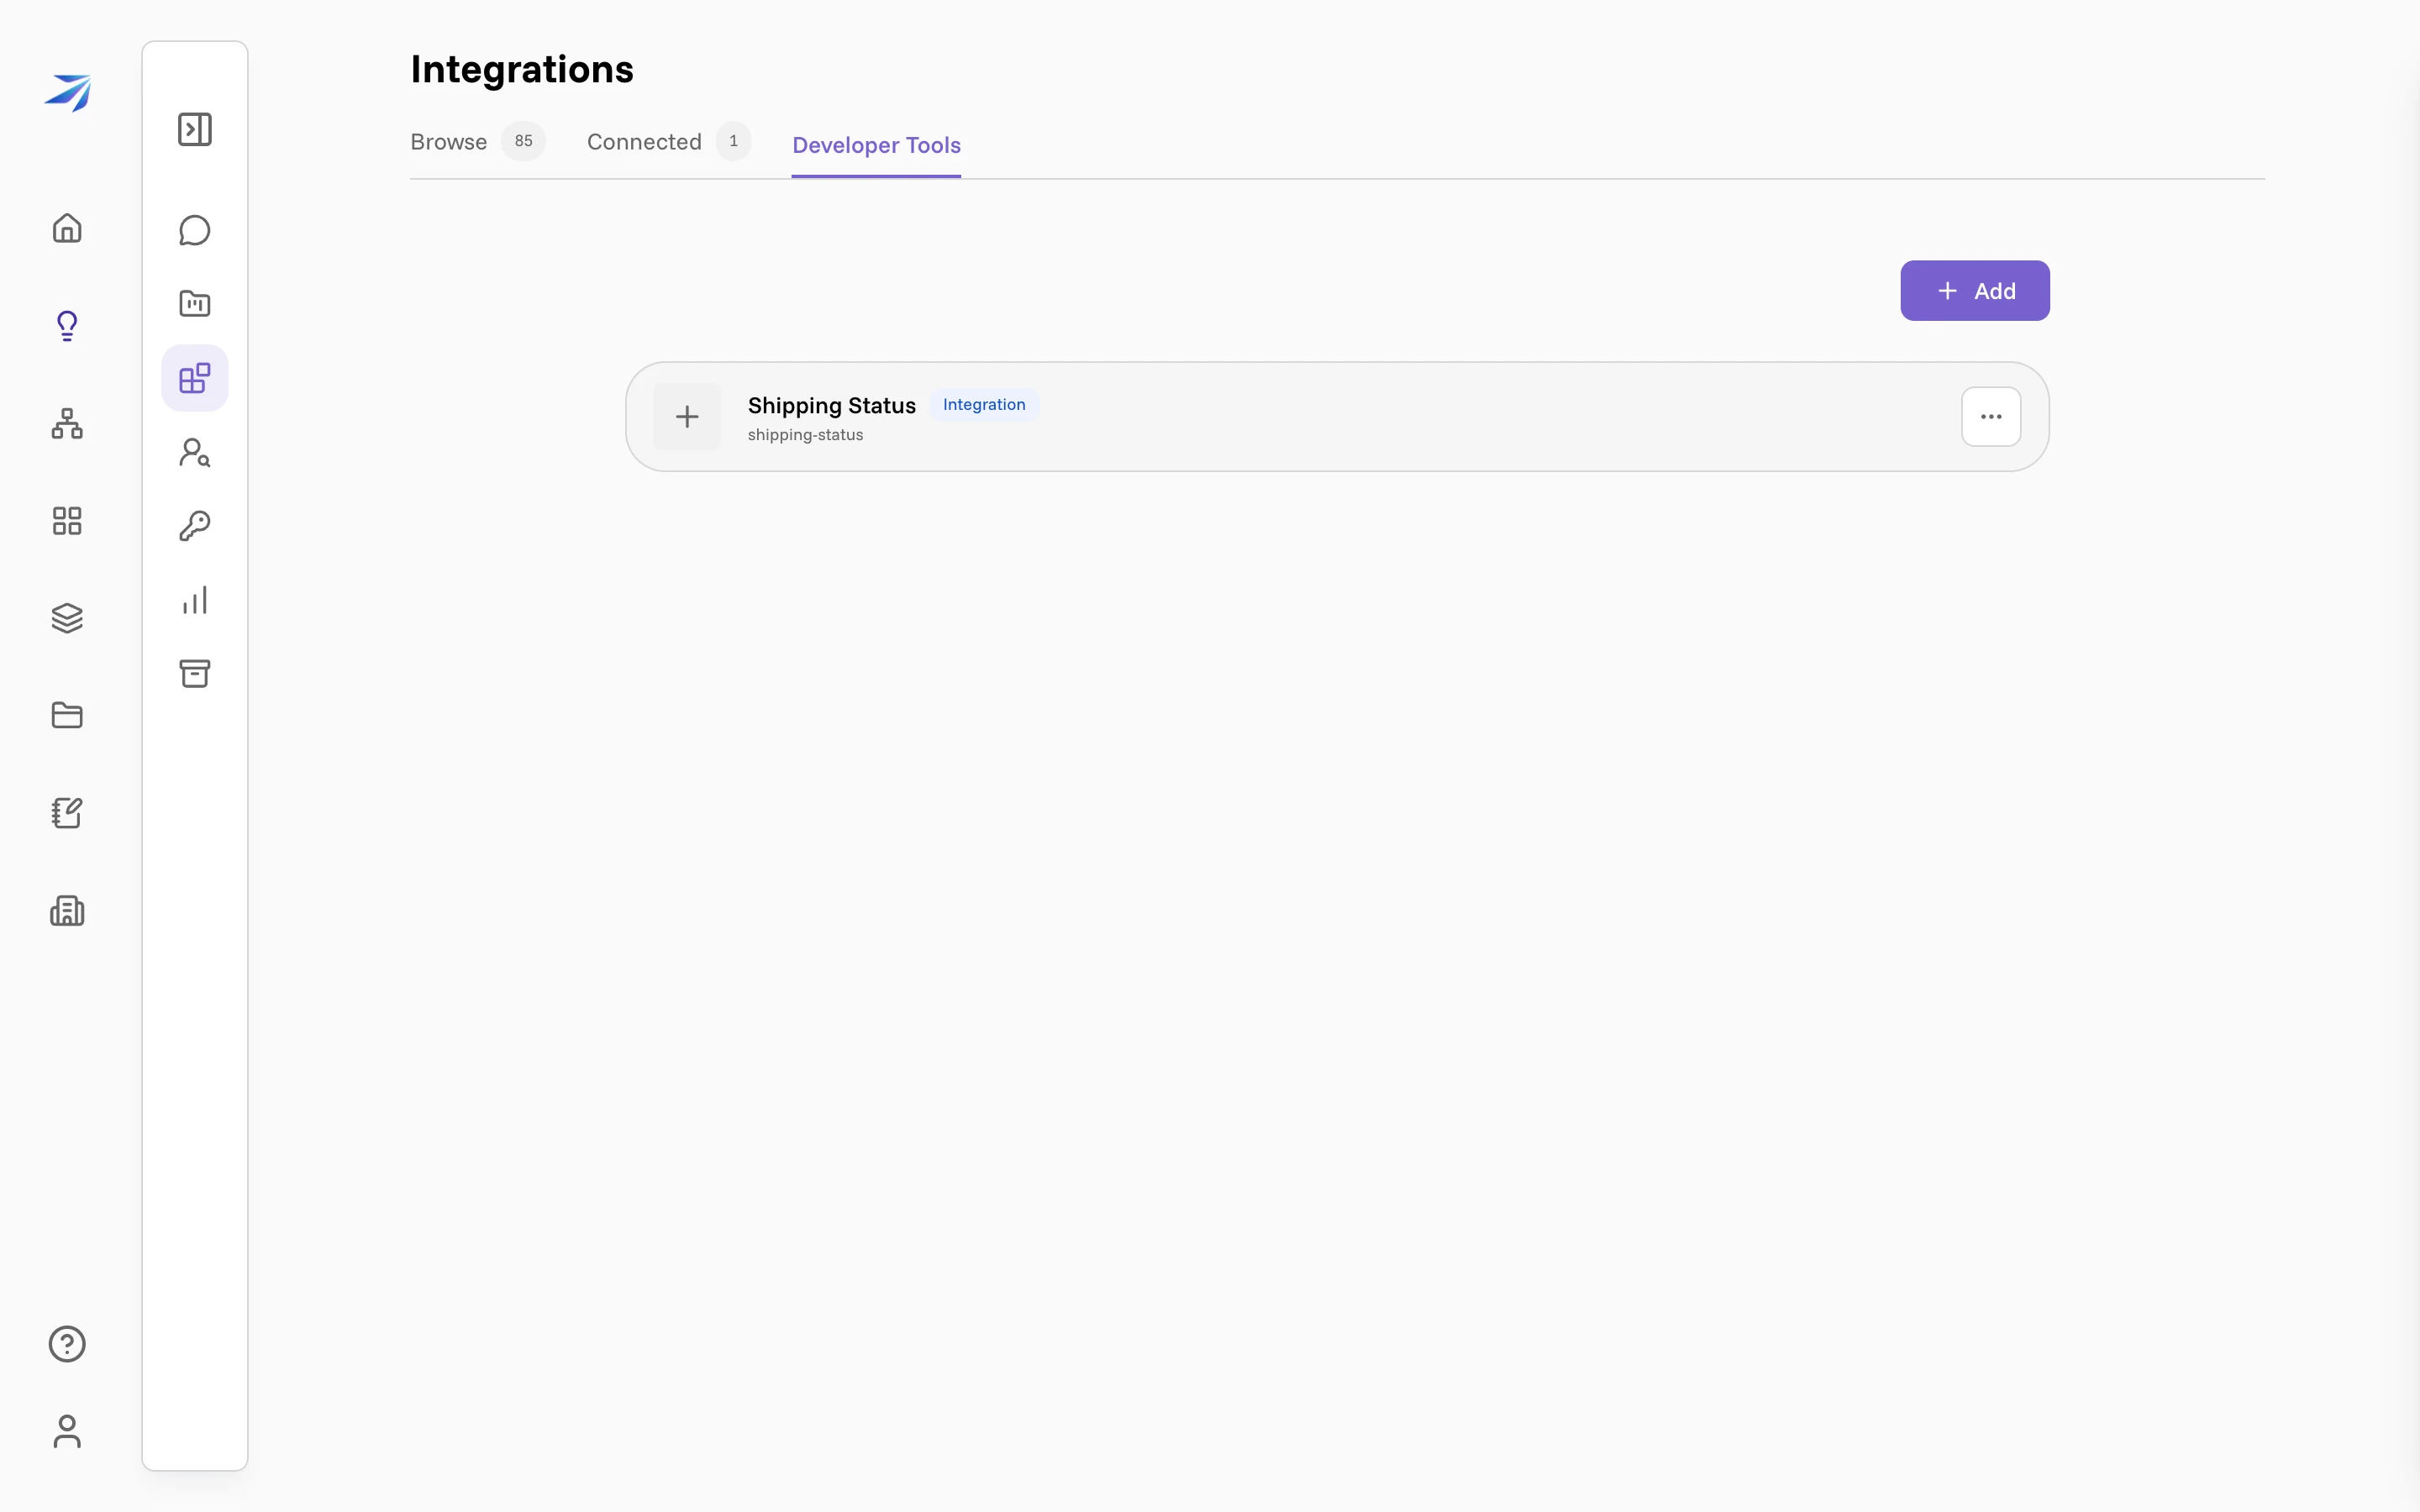
Your plugin now appears here and in the Browse catalog alongside the official integrations. The menu on the row is where you re-verify the manifest after a deploy, rotate the signing key, or add teammates as maintainers.
Connect it for your organization
Registering tells Futurity your plugin exists and can be trusted. Connecting tells it which credentials to use. Because this plugin authenticates for the whole company rather than per person, that's an administrator's job: they open it from Browse and fill in the credentials your token endpoint expects.
Registering a client_credentials plugin attaches the three fields that grant
needs — an API base URL, a client ID and a client secret — so the form is ready
the moment you register. If your token endpoint wants something else as well (a
region, a realm, an account id), send us the plugin slug and the fields, and
we'll add them.
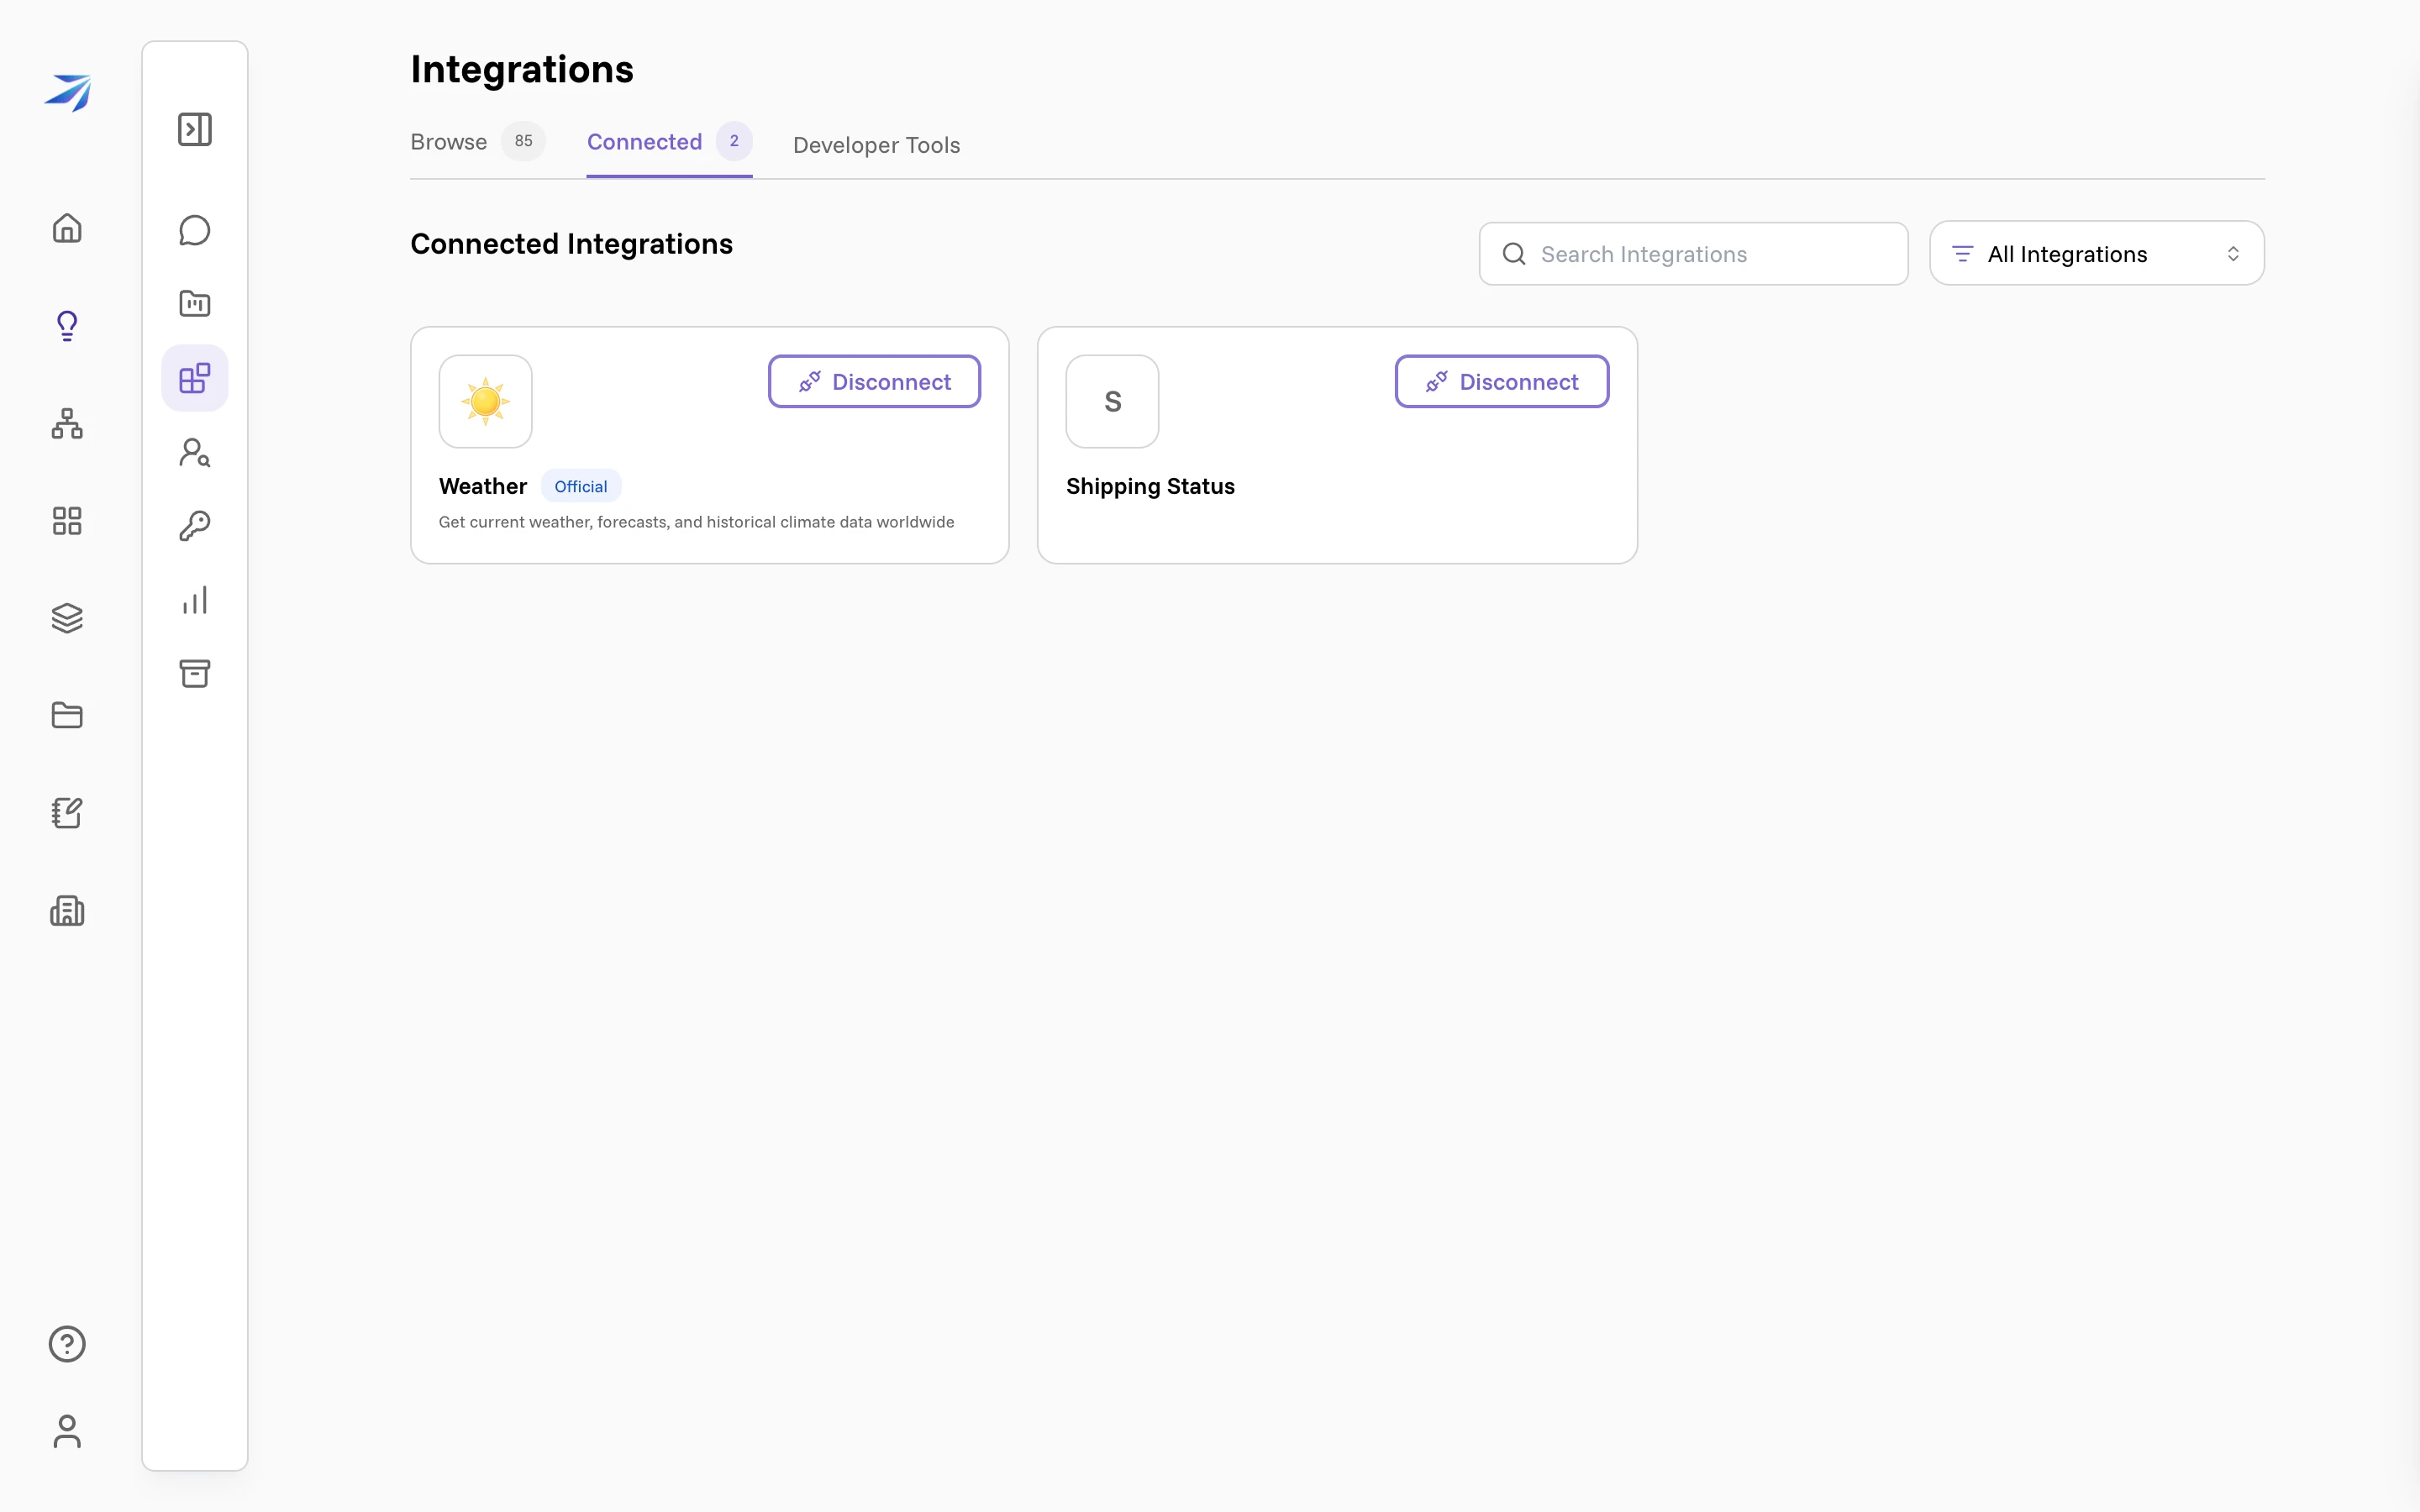
Once saved, the plugin shows up as connected, and every member of the organization can use it.
Use it in a chat
Open a new chat and ask something your plugin can answer:
Which of our shipments are running late right now? Use the Shipping Status integration.
Corint searches the connected integrations, loads yours, and reads your tool
descriptions to pick one. Before the call runs, it asks. Your tools are
namespaced by the plugin slug, so delayed_shipments shows up as
shipping-status_delayed_shipments.
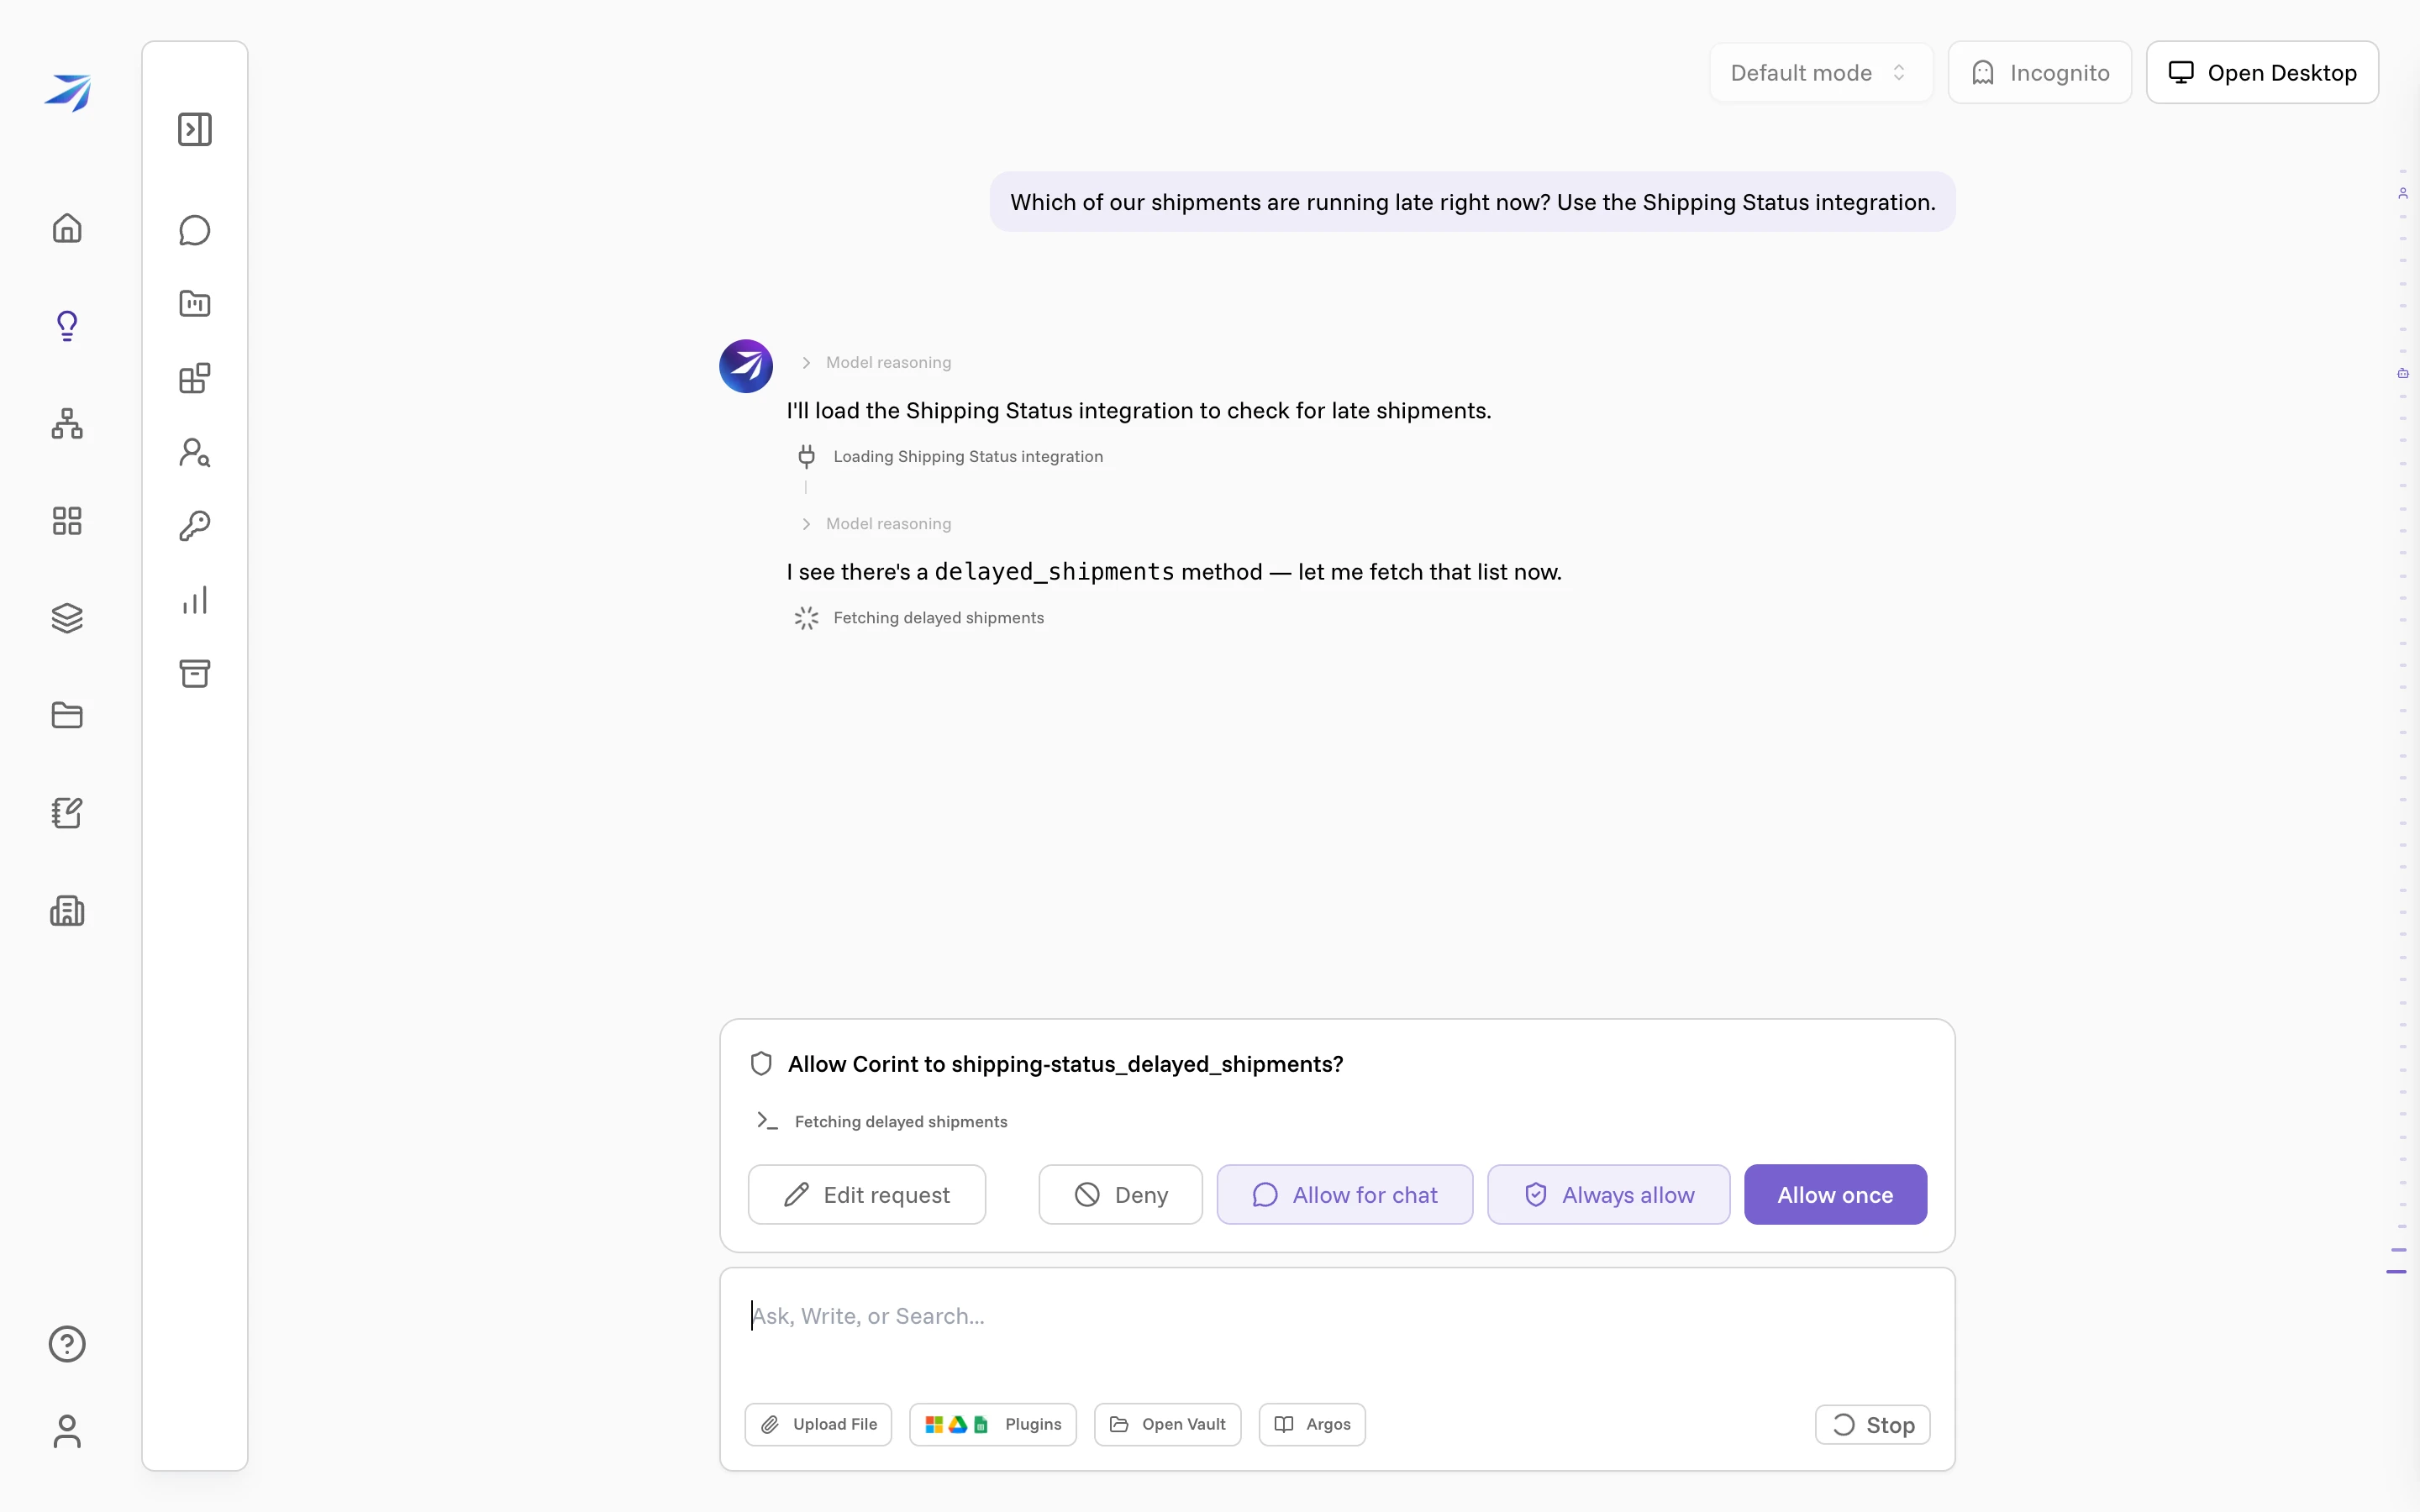
Click Allow once. Corint calls your laptop through the tunnel, gets the two delayed rows back, and answers with them.
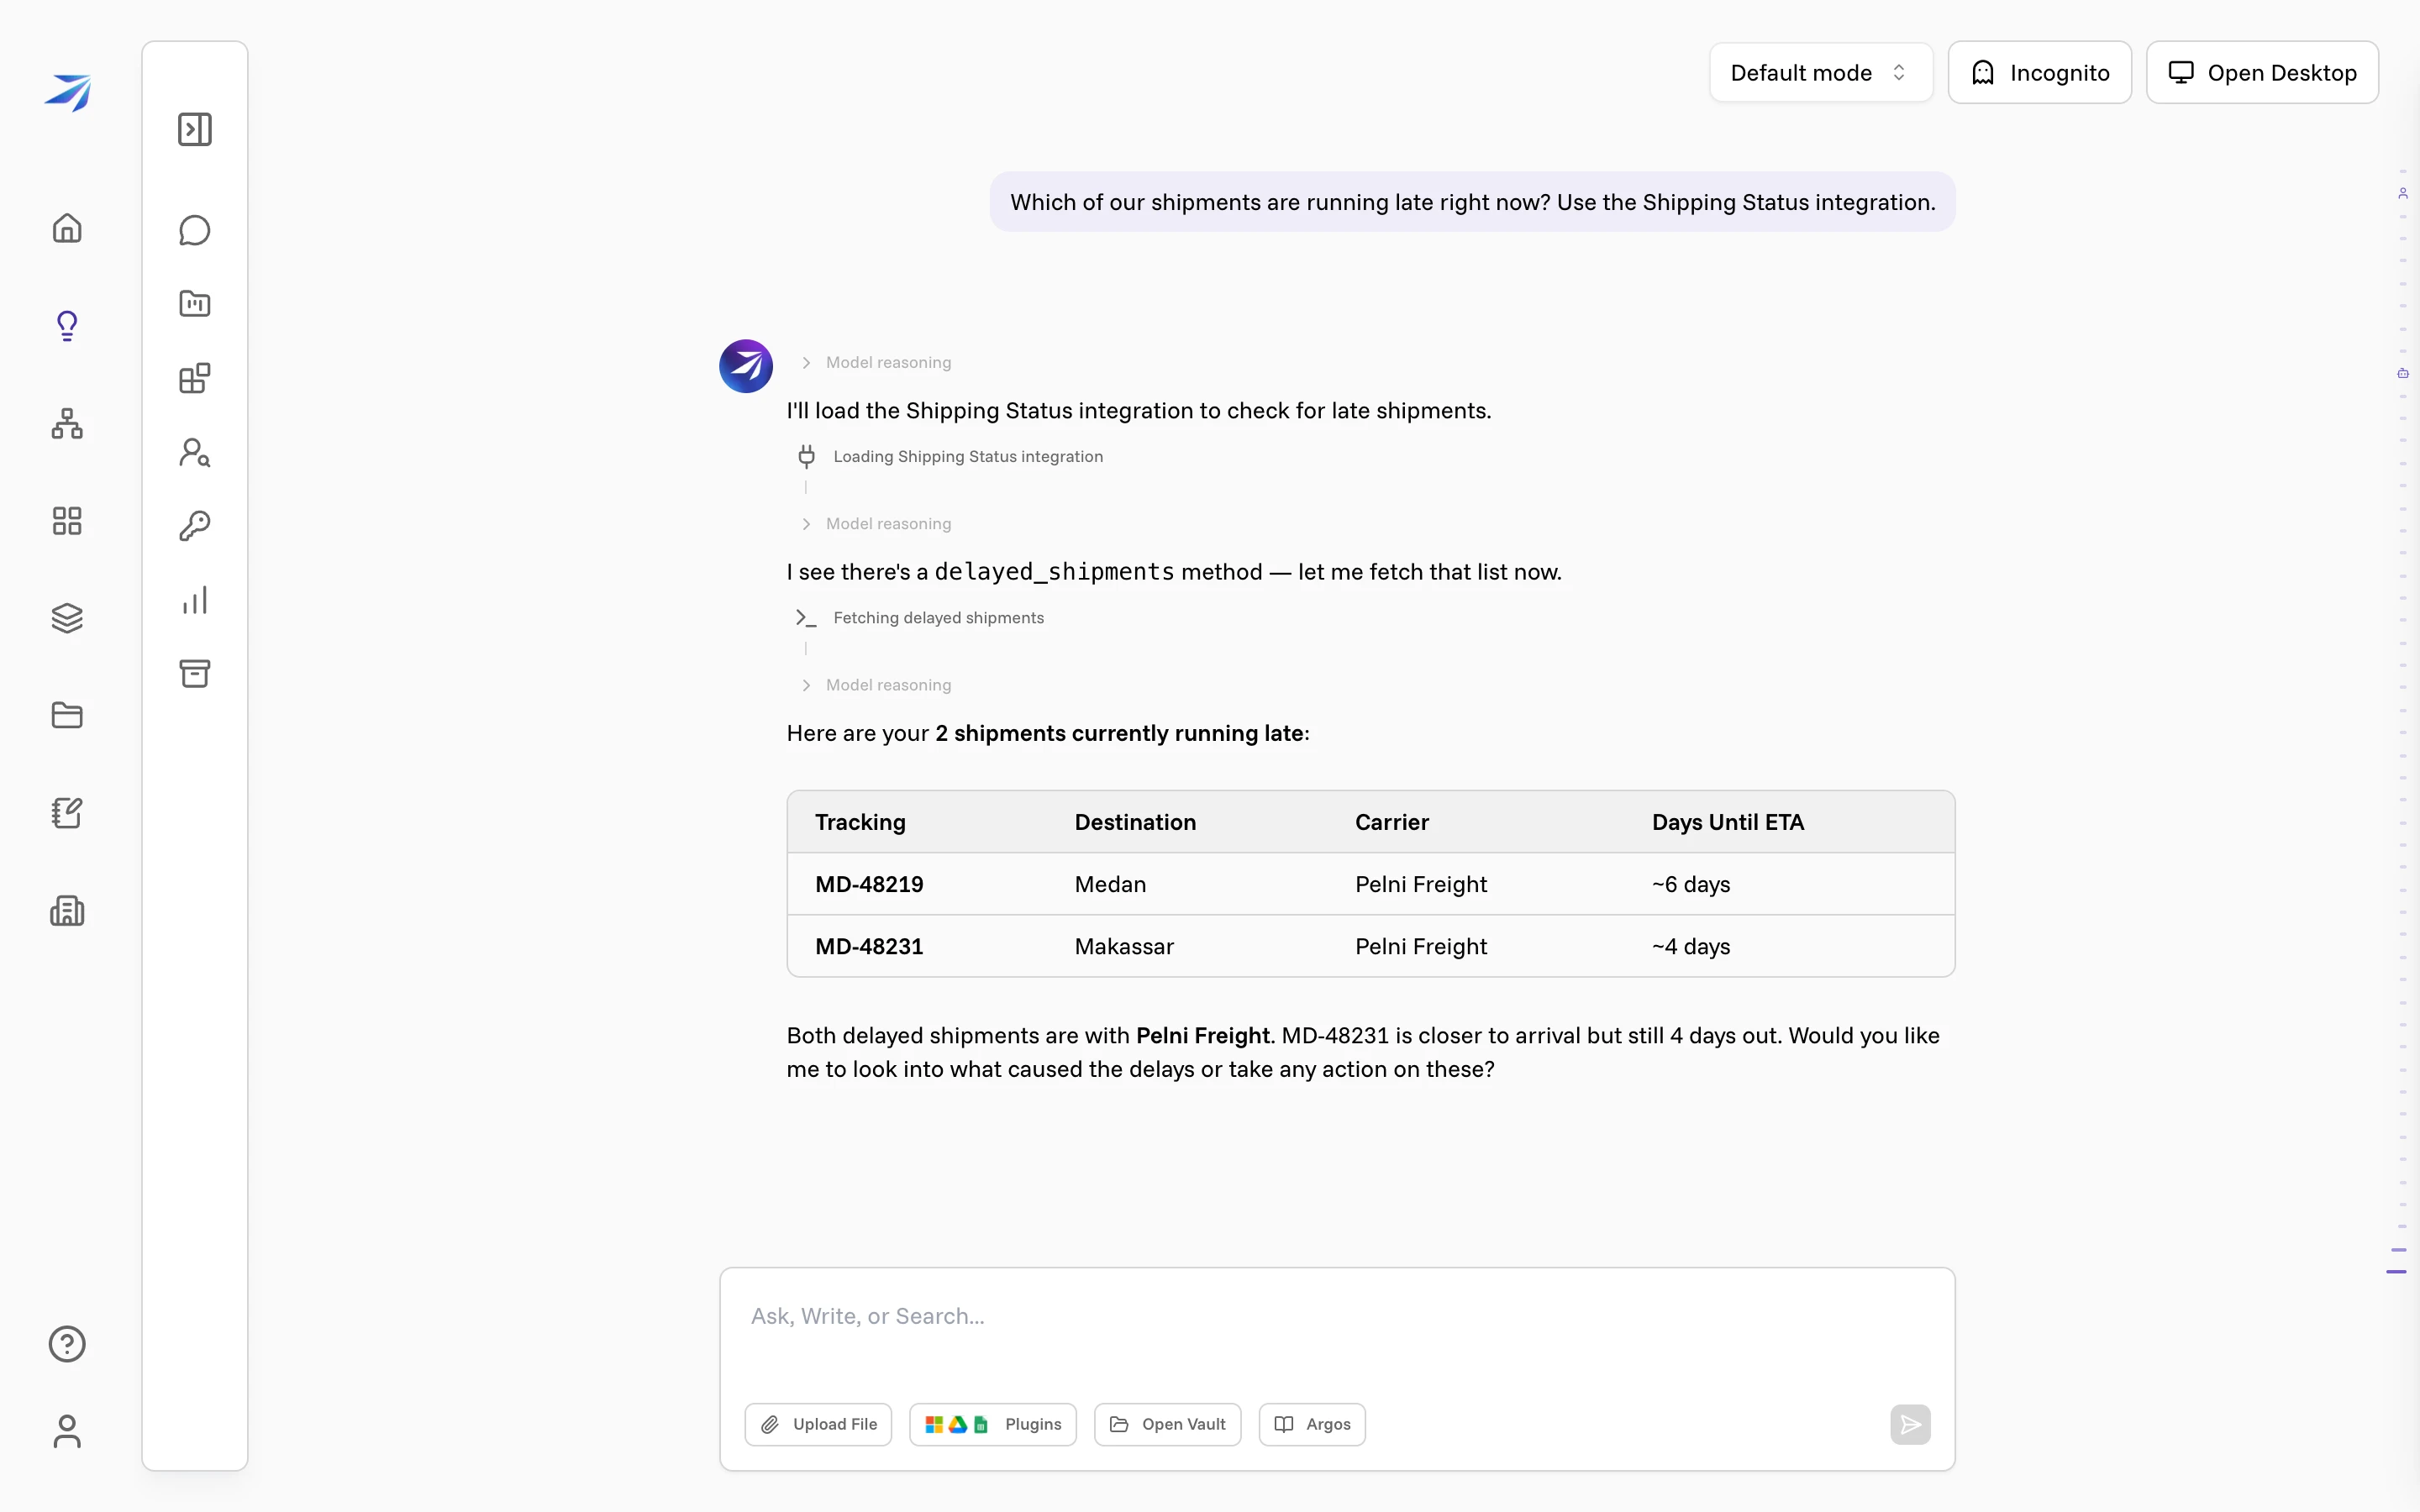
That prompt comes from the same tool permission system that governs every tool Corint can reach, custom or built-in. It's also why a chat can be locked to read-only work before anyone loads your plugin.
What arrives at your plugin
Every tool call reaches you as an ordinary MCP request over HTTPS, with a few headers worth knowing:
Authorization: Bearer …— Futurity's own short-lived token for the call. It identifies the platform, not your API.X-Plugin-Access-Token— the token Futurity got from your token endpoint, or the user's own access token for per-person integrations. This is the one your API cares about.X-Futurity-Data-Params— a JSON object of extra credential fields the administrator filled in (a region, a realm, an account id), for the values that aren't part of the token exchange.
A tool handler receives its input and nothing else, so the headers reach it through a middleware rather than an argument. Bind them per request and read them from the handler:
import { AsyncLocalStorage } from "node:async_hooks";
import type { Middleware } from "@futurity/plugins";

const store = new AsyncLocalStorage<{ accessToken: string | null }>();

export const forwardedAuth: Middleware = (req, next) =>
  store.run({ accessToken: req.headers.get("X-Plugin-Access-Token") }, () =>
    next(req),
  );

export const accessToken = () => store.getStore()?.accessToken ?? null;
An async store rather than a module variable: overlapping calls would otherwise
read each other's token. bunx create-futurity-plugin@latest stamps this file for you.
Where to go next
Plugin authentication
The four auth types, and which one fits the system you're wrapping
What are integrations?
How connected tools appear to the people who use them
Tool permissions
Approving, denying, and pre-approving what Corint may run
Organization integrations
Connections an administrator configures once for everyone
Connect with OAuth
The inbound direction: an app that signs a user into Futurity
Build an Atlas connector
Give Atlas a queryable source instead of tools